Back in 2020, during the first UK lockdown, I put together a slide digitizing rig. At the time I had to use materials I already had around the house as non-essential shops were closed. The result was kind of agricultural but did the job, with a couple of shortcomings. The first of these was that the cardboard slide holder was rubbish and the film strip holder was worse. The second was size: setting it up on a flat surface facing a suitable background took quite a bit of space. Still, in a world where you were stuck inside most of the time it wasn’t the most frustrating thing in life.
Moving forward to a more normal lifestyle the shortcomings of the rig did start to get annoying. As a result, after a fraction of my archive had been digitized I stopped using it. It’s been sitting on a shelf in my office gathering dust ever since. I still have a lot of slides in non-digital form, so I decided to find a better slide digitizing solution.
The Zoom Slide Duplicator
The obvious answer was to buy one, so that’s what I did! Not a purpose-built scanner: I’ve had a couple of those in the past and wasn’t very impressed with the results. I still wanted to use my camera as the digitizer, as the resolution of that was going to far exceed any self contained unit I could afford.
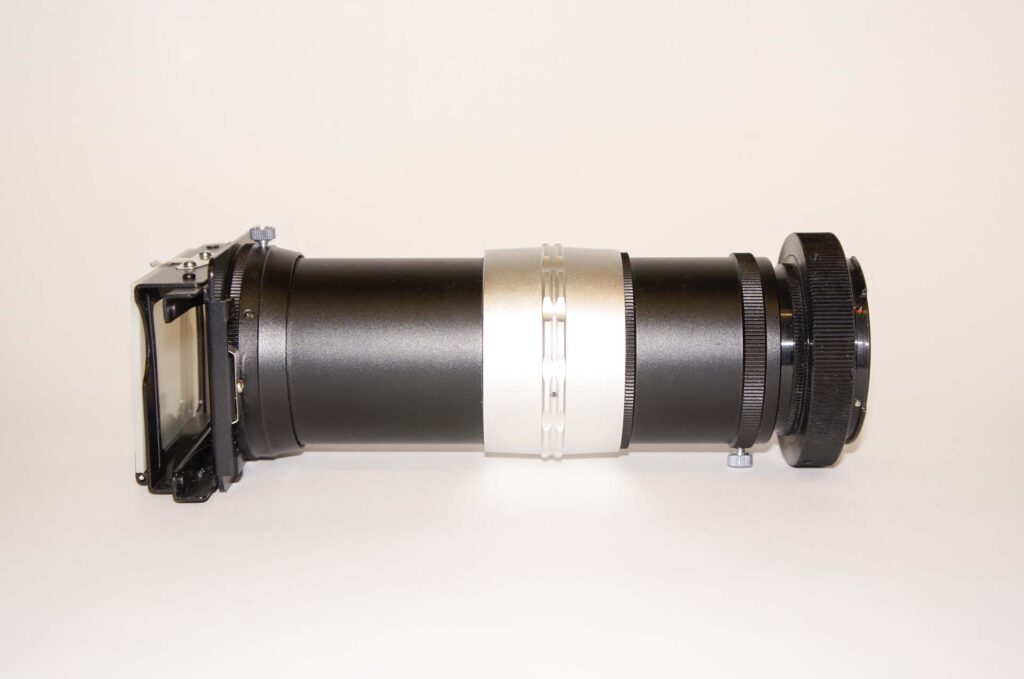
Back in the days of film you regularly saw adverts for “zoom slide duplicators” which mounted on the camera in place of a regular lens. These were basically an adjustable length tube with a small lens in the middle and a slide holder with diffuser at the front.
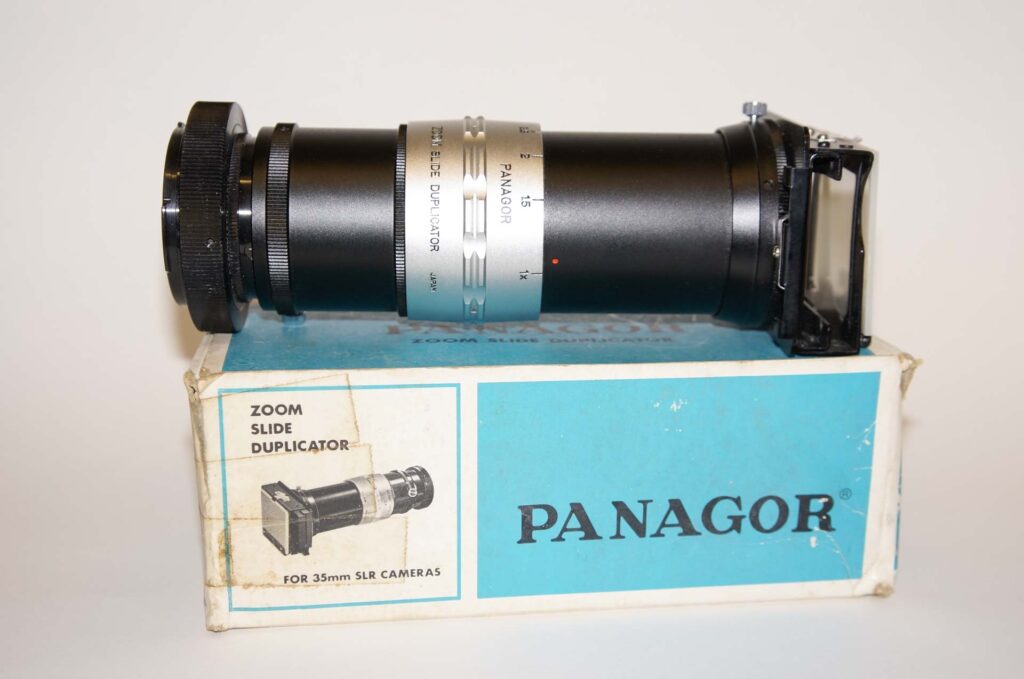
There are still plenty of these kicking around second hand, so I bought one for about ten pounds on eBay. There are several common makes available in the UK: mine is a Panagor. It came in the original box with instruction book, and even had the original price on the box – £36.95. Good value for a tenner! It looked like it had been in storage for a while and was pretty dusty. Easily fixed – I gave it a quick clean up and it was ready to go.
Mounting it on the Camera
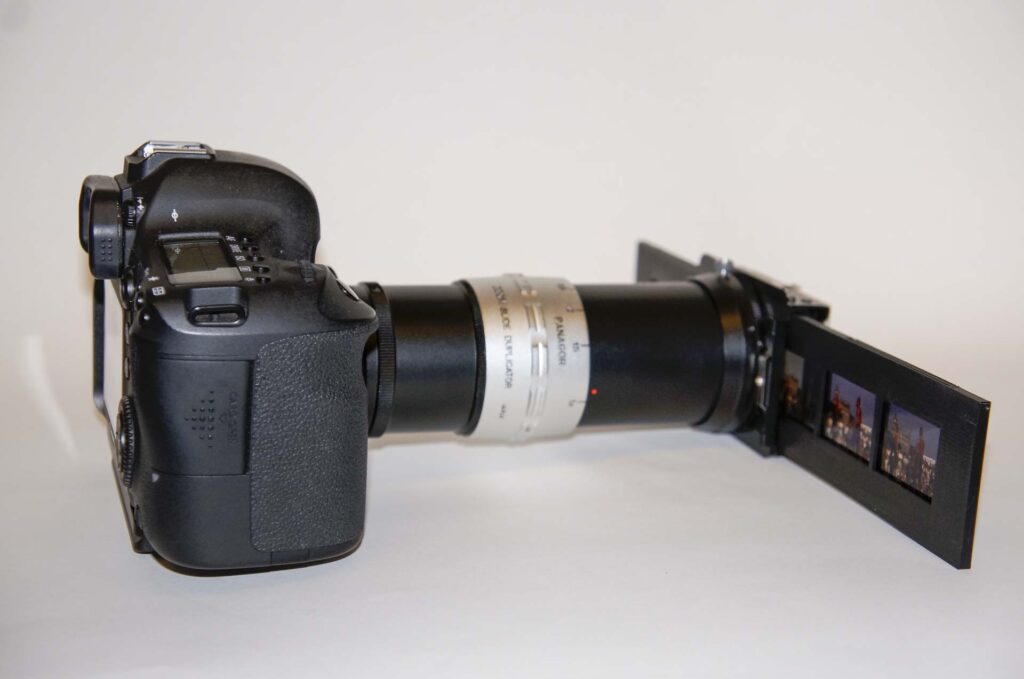
The Panagor duplicator has a T-mount, so needs an adapter to fit it on my Canon cameras. The T-mount is a 42mm diameter screw thread, but the thread pitch is different from the M42 mount. T-mount thread is 0.75mm pitch while M42 is 1mm. My duplicator came with a Pentax K adapter fitted. This meant I could potentially use it with the PK to Canon EF adapter I already had, saving me the cost of a T-EF adapter.
However, when I was searching through my box of lens adapters I found I already had one for T-mount to Canon EF. Even better! I’ve no idea when I bought this adapter or what for, but it looks like it’s now going to earn its keep.
Slide Holder
The slide mount at the front of the adapter is fairly easy to use for mounted 35mm slides. The diffuser flips down and you insert a slide until the edge of the mount aligns with the white dot. You then flip up the diffuser, point it at your light source and take the shot. Getting the slide back out is a bit fiddly, but is ok if you’re not digitizing a huge number of slides.
Unfortunately the Panagor duplicator has no film strip holder, so it works with mounted slides only. When I did a search for slide duplicators it looked like some of them did originally have film holders. However, none of the ones I saw listed when I bought mine still had one. I guess they probably get lost or broken over a 20 plus year time period.
Since I have quite a lot of unmounted slide film, I decided to make my own film holder – this time not using cardboard! The obvious way to produce it was 3D printing, so the first step was to knock out a quick design in Fusion 360.
Film Strip Holder
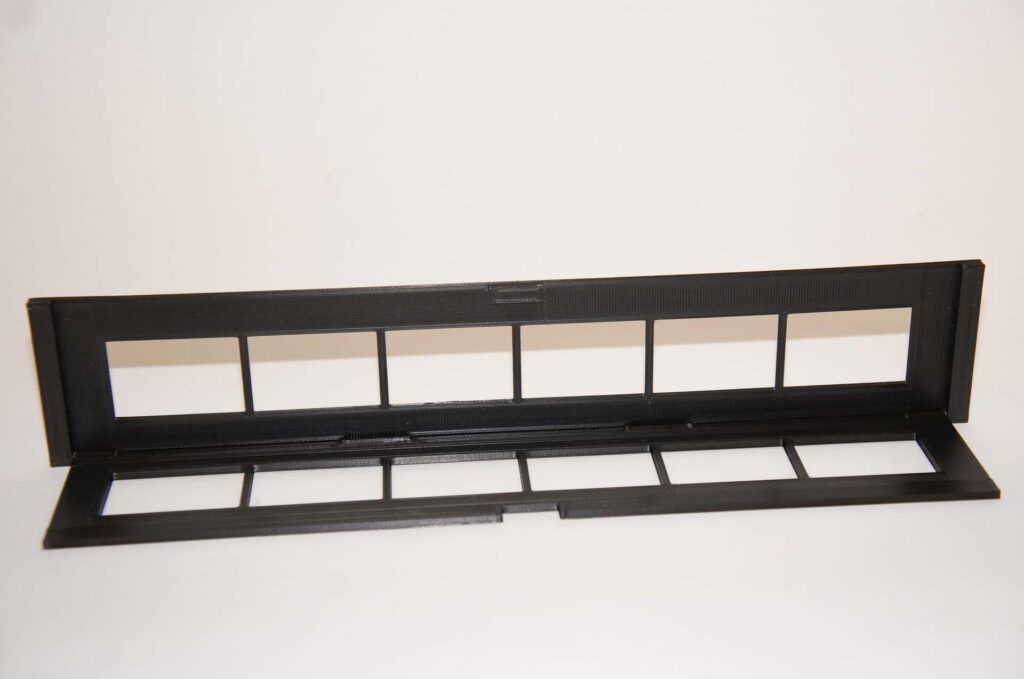
Design-wise this is pretty simple: a pair of matching strips that hinge apart, with a recess for the film strip and some 35mm frame sized cutouts. The 35mm frame size is nominally 36mm wide by 24mm high, with a 2mm gap between frames and with eight sprocket holes per frame. The holder needed to be the same height as a mounted 35mm slide so it would fit the duplicator’s slide holder.
Fun with sprocket holes
My original intention was for the strip holder to have teeth to engage in the sprocket holes at the edges of the film. However, digging out some older film strips from the archive I found the relation of the sprocket hole positions to the actual frames was very ‘elastic’. The gap between frames varied from about 1mm to about 3mm as well.
This prompted me to take a closer look at my more ‘modern’ film strips, mostly taken on a Pentax MX or a Canon EOS5. The Canon looked very regular, but the films shot on the Pentax again had a lot of variation in frame gap and relative sprocket hole positioning.
On balance, based on those findings I decided to drop the teeth from the design. This means the film strip can be slid along/back in the recess in the holder the into the best position. Most of my film strips are six frames long so that’s the length I’ve made the holder.
The second slight complication was the hinge. I would have liked to make a snap-together printable hinge, but the plastic has to be quite thin to fit in the duplicator’s slide holder. As a result I went for the “holes and thin wire” type of hinge I used in my lens hood design. The final film strip holder looks like this:
The stl files for the two parts of the holder can be downloaded here.
Printing
The front (longer) part of my six frame holder is 262mm long. This is longer than the build surface of my Ender 5 Pro. However, rotating it in the slicer to print diagonally across the build surface it does just fit. Note that my printer settings in Cura have previously been tweaked for an X and Y size of 230mm rather than the default 200mm.
I normally print with a skirt, but there was no space for one with this print. I also had to override the warning in OctoPrint that this wasn’t going to fit in my build surface. The fact is it did, and printed absolutely fine. The back part is 12mm shorter, but again had to be printed diagonally across the build surface. Both parts were printed with Technology Outlet deep black PLA filament. The bed temperature was set to 50°C and nozzle to 210°C – these are my default settings with this filament.
The Ender 5 does have quite a big print surface. For printers with smaller print surfaces the capactity of the strip holder could be reduced to four fames. This should give an overall length of about 186mm, which is probably a bit more manageable.
Assembly
The hinge wire is 22 gauge steel wire, which has a diameter of about 0.65 to 0.7mm. The hinge holes have a designed diameter of 0.8mm, but suffer a bit of shrinkage in printing. As a result putting the two parts together needed a bit of a cleanout of the holes to get the wire through. The ends of the holes for each section were started with a 0.8mm drill in a pin chuck – this made it easier to start threading the wire. When the wire had been started it was carefully pushed through using a pair of fine pliers.
Once the holes had been cleaned out, the two parts were put together and the wire was pushed through. When it was right through it was cut off flush at both ends: this resulted in a pretty sturdy-feeling hinge. The ends of the tab in the middle of bottom of the front holder part were filed down slightly so that the front and back clicked together solidly to close with a film strip in place.
In Use
I’ve found the zoom slide duplicator is way quicker set up and use than my previous rig. I’ve been using it on my Canon 6D with a camera mounted flash, bouncing the light off a plain white wall. Mostly I use it hand-held, which makes setup a very fast process.
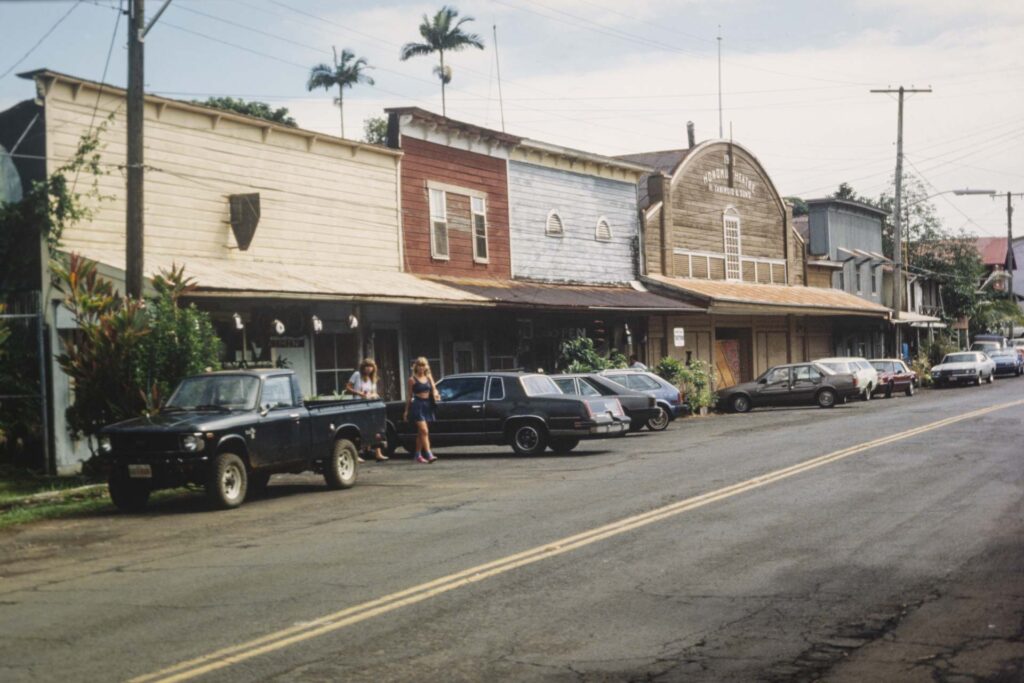
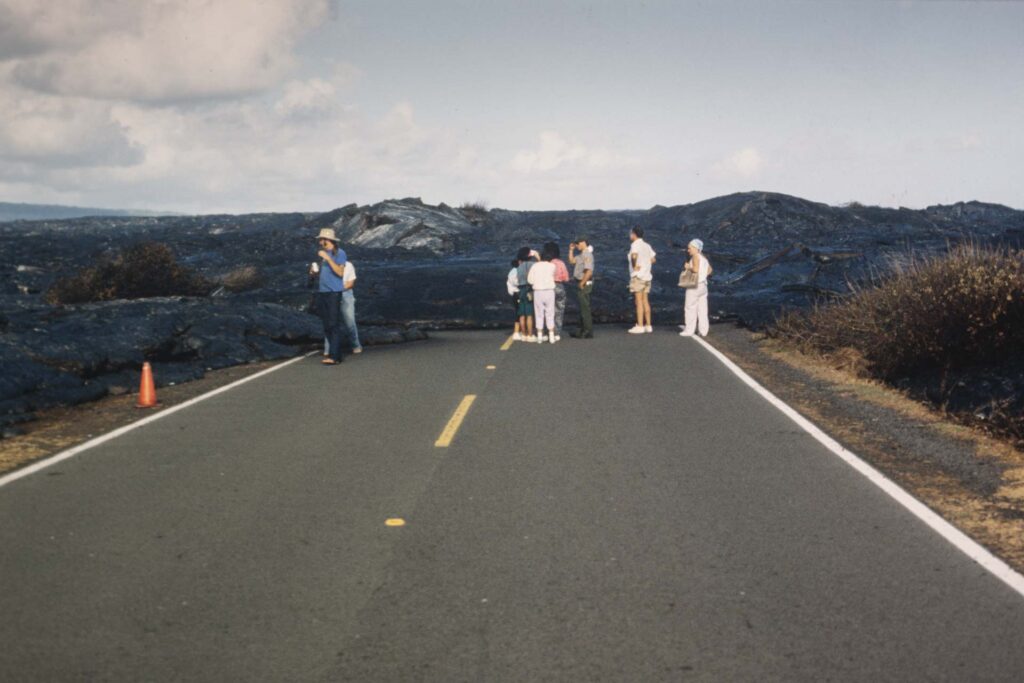
Blasting through a mounted 36 exposure slide film is a lot faster than with my old setup, as getting the slides in and out of the duplicator is easier. The two pictures below were taken on Fuji Velvia using Canon EOS5 with a couple of pretty awful Canon zooms. Unfortunately I couldn’t afford L-series glass back in those days.
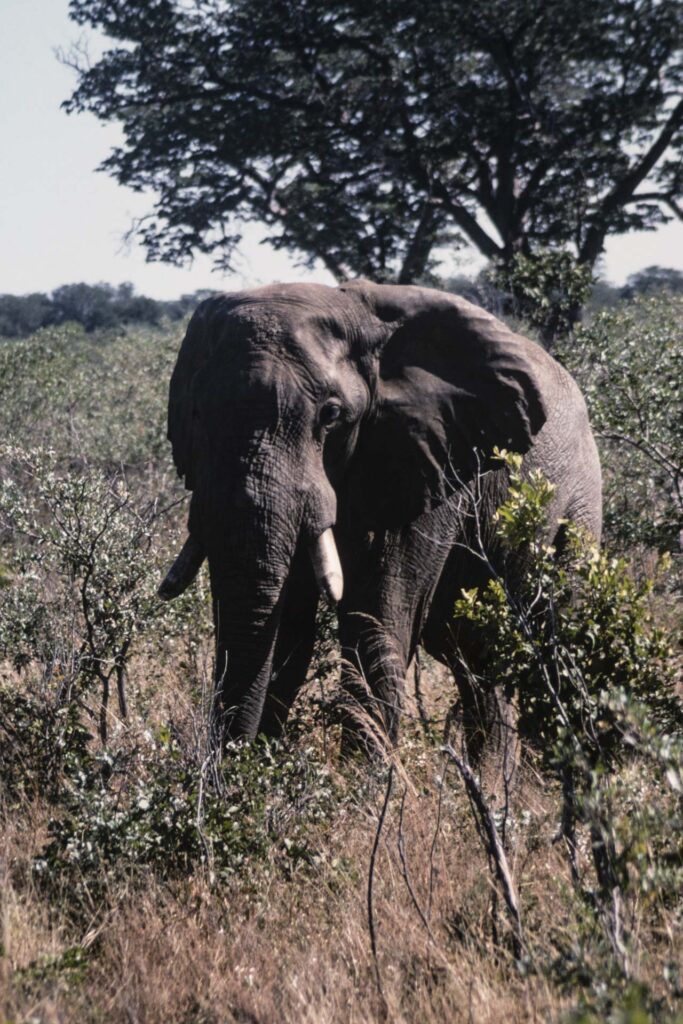

Moving on to the DIY part of the post … With unmounted slides, running six 6-frame strips through the duplicator is quicker than individual slides. The thing that takes most time is getting the slides reasonably clean during loading. The two samples below were taken with a Pentax MX in 1989, probably using a Takumar 28mm lens. Film stock was Kodak Ektachrome 100.
One thing that’s immediately obvious is that the quality of these photos is not exactly great by modern standards. This is why I’ve been using my 20MP Canon 6D for digitizing – it’s more than good enough for these old slides.
An added bonus of the duplicator based solution is that when it’s not in use it’s a lot smaller and can just be stored in its box in a cupboard, rather than taking up most of a shelf. It also frees up my camera slider to do what it was designed for. Or perhaps as the basis of another project.