On rare occasions I manage to find enough free time to get out and attempt to do some wildlife photography. When this happens I browse through my less than extensive collection of telephoto lenses and dig out my lens of choice – a Sigma 100-300mm f4 HSM. It’s a pretty decent bit of kit for someone on a relatively limited budget, as unlike a lot of cheaper tele zooms it’s actually sharp at the 300mm end of its range.
However, it is pretty hefty and looks a bit like a bazooka when it’s attached to the front of a camera, especially when the lens hood is fitted (which it always is when I’m using it). To break up its lines and make it a bit less visible, and also to give it a bit of protection, I had a look online to see what the possibilities were for buying a camouflage cover.
It’s not the most common lens and has been out of production for a while, but I did manage to find one on Wex that looked like it would do the job, although strangely it doesn’t appear to cover the focus ring. Also over ninety quid for the privilege does seem like a bit of a high price. So in the spirit of this site here’s an alternative challenge: make your own lens coat.
Lens Covers
The lens covers that I could see online appeared to fall into two basic categories. The first were the single-piece waterproof varieties and the second were multi-part neoprene rubber ones. For option one I’ve seen suggestions that you just use the leg of a pair of cheap camouflage waterproof trousers or something similar. I didn’t fancy that. Looking at option two, these basically consisted of a number of rings that fitted round the various sectons of the lens barrel. My immediate thinking was that making a few bands of neoprene shouldn’t be too difficult, so option two it was!
The only tricky bit should be making sections to fit tapering parts of the lens barrel and hood. Luckily with the Sigma lens most of the sections are parallel sided, with the only tapering parts being the lens hood at the end where it attaches to the lens, and the focus ring which has a slightly smaller diameter at the camera end. Another piece of good news was that the Sigma doesn’t extend or rotate when it’s zoomed, which makes things a lot simpler. Other lenses could be considerably more difficult!
Parts
- Neoprene sheet, 2mm thick, camouflage pattern, or if you prefer and live in the UK leaf pattern
- Neoprene rubber glue
- Thread
Method
Before splashing out on the camouflage sheet it seemed that a good starting point would be to cut a set of patterns out of paper. The idea was that these should give an idea of how tricky shaping the various rings was going to be. When it came to the crunch, however, they were a good guide for the parallel lens sections but not very useful for the tapered sections. For these I used the natural stretch of the neoprene to do the hard work.
It all looked good with the patterns taped to the lens, so next came cutting out the neoprene sheet. The paper patterns could have been used as a cutting guide, but ultimately it was more accurate to measure the widths and diameters (length of a strip is π x diameter) of each section straight from the lens and use those for cutting.
The next challenge was cutting the neoprene. Note: I found you need an extremely sharp knife to make the cuts cleanly along with a heavy metal straight-edge. With the straight edge you can apply a lot of pressure to the neoprene as you cut, which compresses the sheet and makes for cleaner edges on the cut sections. I generally use a scalpel for accurate cutting and fitted a new blade before cutting the neoprene. I did try a couple of alternative cutting methods – the first was a sharp long-bladed pair of scissors: these made a reasonable job, but it’s difficult to get the long cuts absolutely straight.
Guillotine
Far and away the best cutting method proved to be using a guillotine. The one I had access to was a (borrowed) Dahle 561. This is quite an expensive beast, but can make quite long cuts, has a rolling blade guard to stop you accidentally cutting something you didn’t mean to, and, very importantly, a clamping bar which holds and compresses the neoprene as it cuts. This results in very straight and clean cuts.
The Dahle also has an adjustable backstop with a scale which saves a lot of time as you don’t have to mark pieces before you cut them. If you’re planning to make a few lens coats – maybe you want summer camouflage and winter camouflage – or if you need to cut a lot of paper, it could be worth the investment.
Glueing the Bands
Once the neoprene sheet was cut the strips had to be glued into bands. To do this the Black Witch neoprene glue was spread over both ends of a strip, it was left for two to five minutes and then the ends were carefully brought together making sure they lined up. The glued strips were kept under pressure until the glue was fully cured. The instructions for the Black Witch glue don’t appear to mention how long this takes, so I generally left mine 24 hours. When the glue was cured the bands were fitted to the lens to ensure they were the right size. Note: I didn’t try the ones for the tapered lens sections at this stage!
The final step was to stitch the joins, as this relieves the pressure on the glue and should ensure that the rings don’t start coming apart after a bit of handling. The stitching is particularly important for the rings that fit the tapered lens sections, as since they were measured to be a good fit at the smaller end they were going to be stretched at the larger end. For example the lens hood cover for the Sigma 100-300mm has about 10mm of stretch to fit the outer end.
Sewing the Bands
If you have access to a sewing machine and are reasonably adept at using it, zig-zag stitching along the joins shouldn’t take very long. I didn’t think my sewing machine skills were up to it so I started out hand stitching the joins. Big mistake! I’d stuck masking tape either side of the join, with carefully measured marks as a guide to keep the stitching even, but actually doing the stitching was an impossibly slow process and it took ages to do a single band that was only about 25mm across.
The thought of doing the bigger sections this way, especially the lens hood, didn’t fill me with positivity so I dug out the sewing machine and started practising my zig-zags.

My machine is an inherited Singer 507, so quite old and with no fancy electronics, LCD control panel and all that jazz. However, it can do zig-zag stitching at various widths, which is about all you need. My first practice runs on an offcut of neoprene weren’t too promising with lots of skipped stitches, but a new (90-140 size) needle fixed that. The results from sewing the bands were as good as my ability to sew a straight line, so generally not too bad. However, it was quite challenging on some of the sections where the seam was long compared to the diameter of the band.
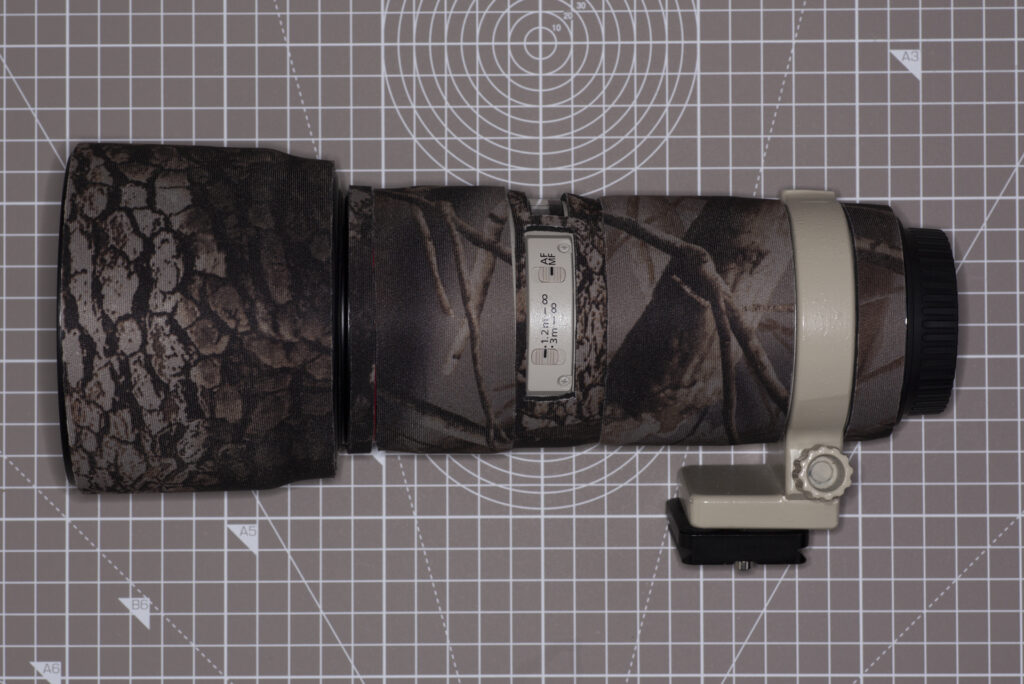
After they’d been sewn the bands felt really strong, and stretching them onto the lens sections wasn’t too difficult. A final bit of cutting out at the end of the lens hood and the focus window completed the job:
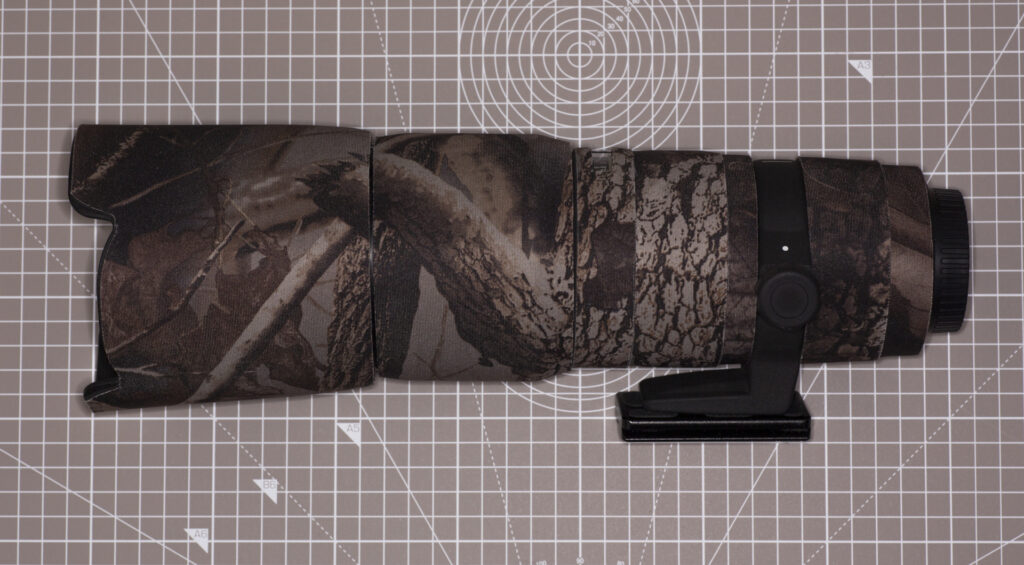
Next Victim
Since I had tons of neoprene left and still had the guillotine on loan, I quickly knocked up a coat for my Canon 70-200 f4 as well:
There’s still plenty of neoprene left for future projects. I’ve had my eye on the Canon 400mm f5.6 for a while, and from the pictures it looks like it should be an easy lens coat project. Failing that, I guess I could always make a wetsuit for the cat …
3 thoughts on “Make your own Lens Coat”
Brilliant, I have just bought s Nikon 300mm 2.8 Al from the eighties I guess, £90 seems a bit excessive, I will give it a go, cheers!