Well it’s January – traditionally the month where everyone’s feeling a bit poor. So my first post of the year is about how to to replenish the parts bin without actually spending any money! There are a couple of designs I’m currently working on that are going to need some electro-mechanincal and mechanical components. To keep the prototyping costs down, and in the interests of doing some recycling, it’s time for some scavenging.
I had two defunct printers that gave up the ghost last year sitting in storage in my workshop. The first of these was an ancient HP Laserjet 4050TN – a black and white laser jet printer. The second was a Canon Pixma TS8251 inkjet printer/scanner. In theory both of these should be a reasonable source of parts as there was a lot of motion happening inside when they were working. Time to find out if theory and practice match up …
HP Laserjet 4050TN
The 4050TN is a desktop machine (if you’ve got a fairly big desk) dating from the late 1990’s. It’s built like a tank and had printed a huge number pages in its long lifetime, until last summer it decided it had had enough and retired itself. Rather than just take it to the recycling centre I decided to keep it for parts, as these printers are quite complex bits of machinery and potentially have a lot of useful components.
Due to its tank-like build it’s quite a heavy beast so dissassembly was done on my metalwork bench. The starting point was this:
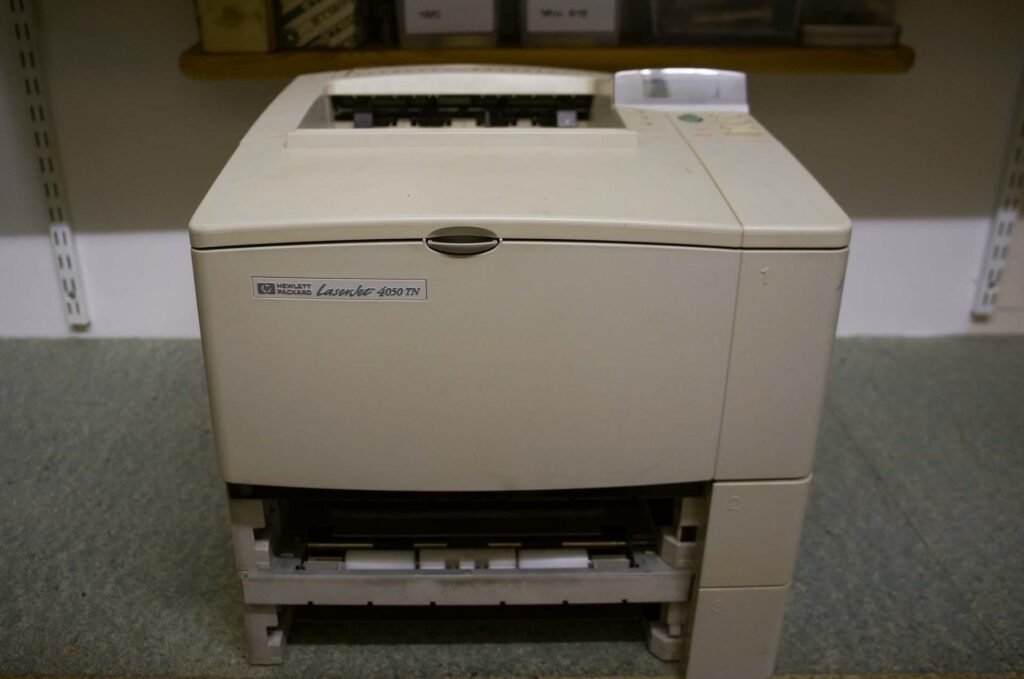
As you can see from the photos it’s a two paper tray machine, which should mean double paper feed components. I’m not going to describe the tear-down in massive detail as printers vary from model to model. Instead I’ll just document a few milestones.
Disassembly
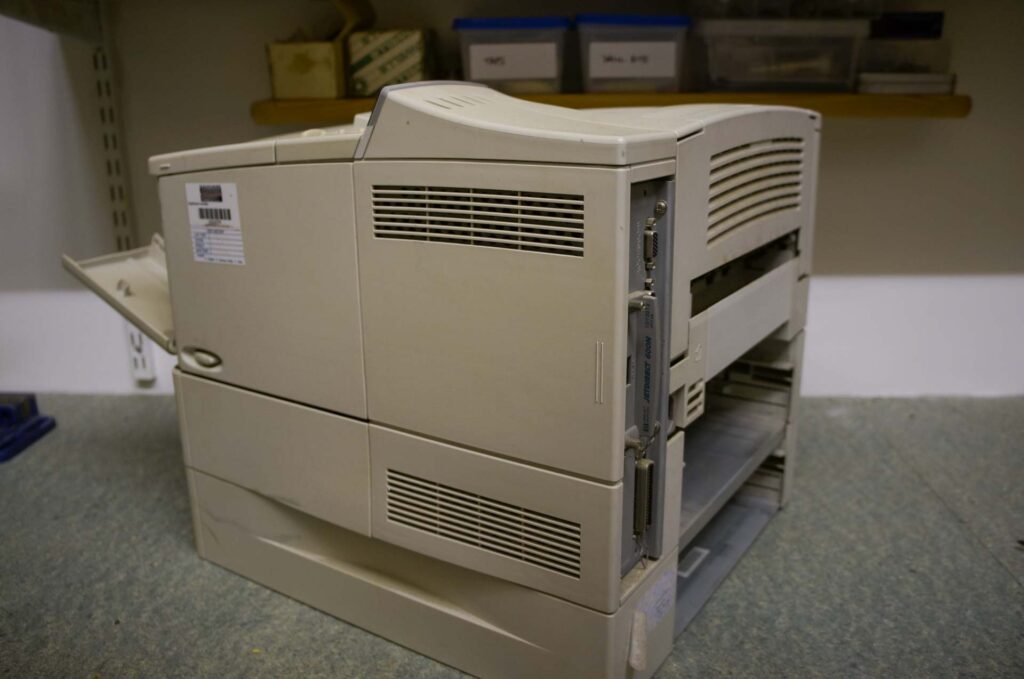
First step was to remove some of the outer plastic case to get a look at what lies beneath. This involved working round the printer from all sides (and top and bottom) removing screws and unclipping yellowed plastic panels:
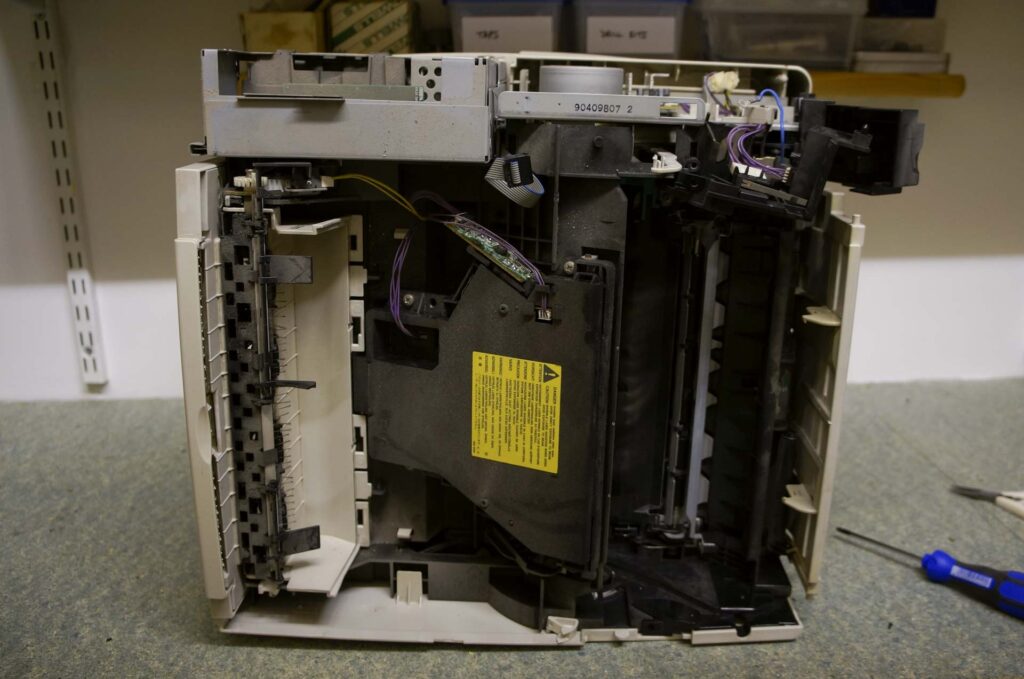
It’s a bit like peeling an onion – each assembly or part removed revealed the start point for taking out the next bit. After a few rounds of removals I reached the point where the top (printer) section could be seperated from the bottom (paper trays) section. This was good news as it was a lot easier working on the smaller less unweildy sections:
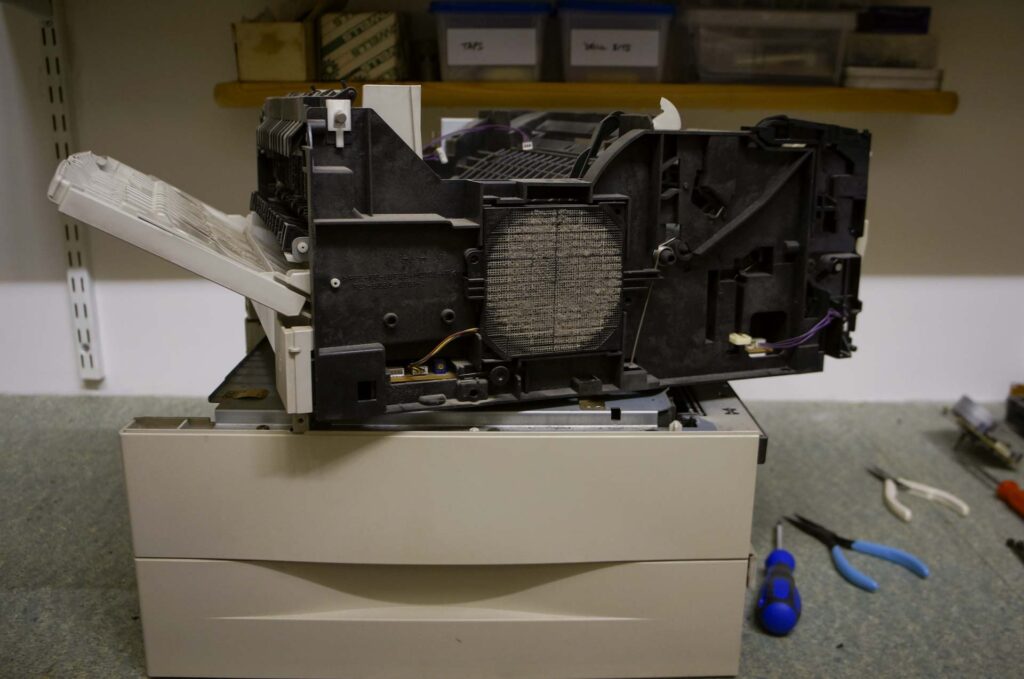

One thing to note in the picture above is the gear wheel at the back-left. This appeared to be the drive for the paper trays’ feeds – the only motor in this printer was in the top section. All of the rotating parts were driven by three separate gearboxes.

Fast forwarding from the two photos above … Eventually when the top and bottom sections had been completely dissassembled I was left with the following selection of parts:
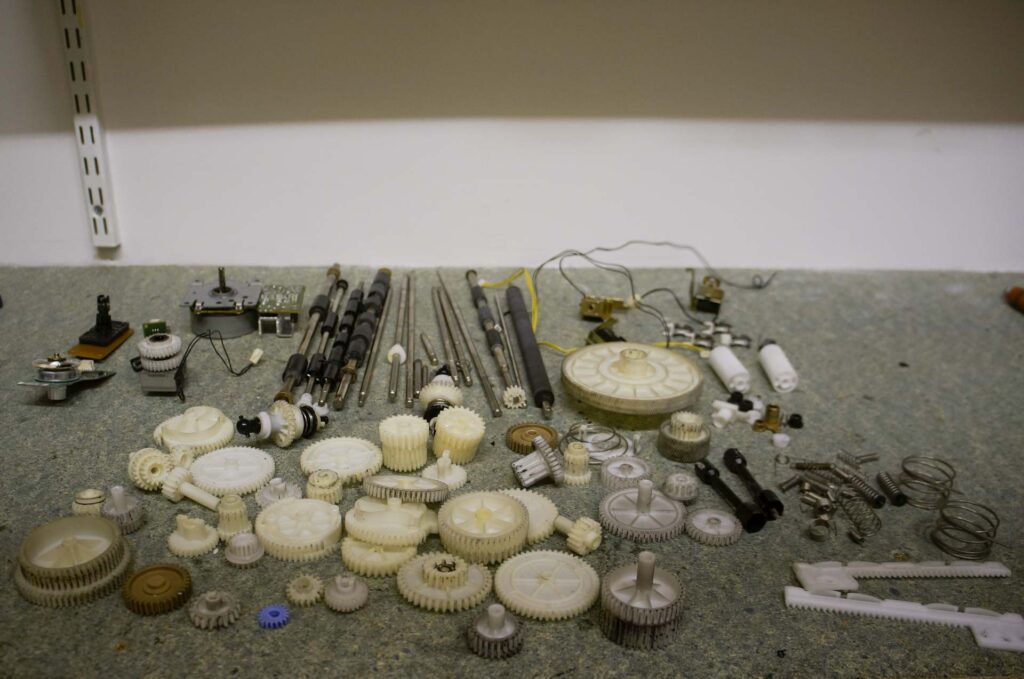
Recovered Parts
Considering the size of the printer, not much you might think. Here’s the list:
- Large 24 Volt motor – not sure if it’s a stepper or BLDC at this stage,
- Laser module,
- Motorised rotating hexagonal mirror,
- Electric spring clutch,
- Three solenoids,
- Limit switch,
- Four photo interrupters (TLP1241),
- Two universal joints,
- Large selection of gear wheels,
- Various steel shafts, with circlips and bushes,
- A chassis fan with filter,
- LCD display/push button assembly,
- A load of springs of various types,
- An even bigger load of machine bolts and self tapping screws.
That’s the useful stuff. There was also a load of moulded industrial plastic, metal casings and several circuit boards, but these all went away for recycling.
Canon Pixma TS8251
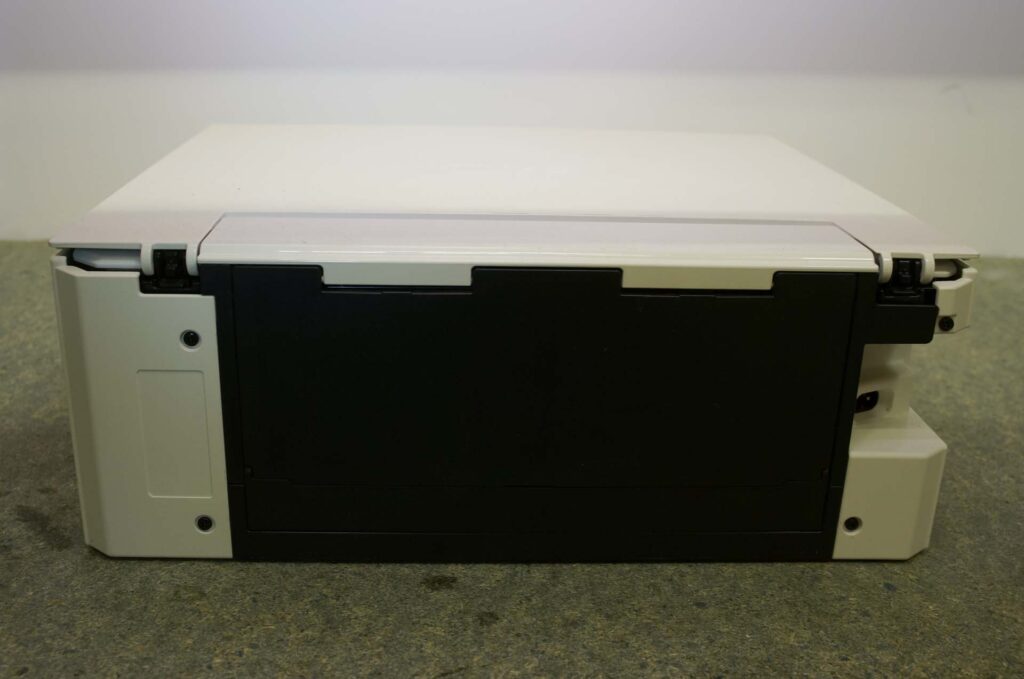
This was a much more modern machine, only dating from about 2018, so unlike the HP it had a disappointingly short working life. It was a printer/scanner, so there were two separate mechanisms to scavenge. It was also a lot smaller and lighter than the HP, making it a lot easier to handle on the work bench. Being an inkjet printer, and a faulty one at that, I wore latex gloves for most of the disassembly. There were a lot of very inky parts revealed as the strip-down progressed.

The starting point was once again removing the visible screws (like the four on the back, below), then working round the printer body finding what had loosened and could be unclipped or otherwise removed.
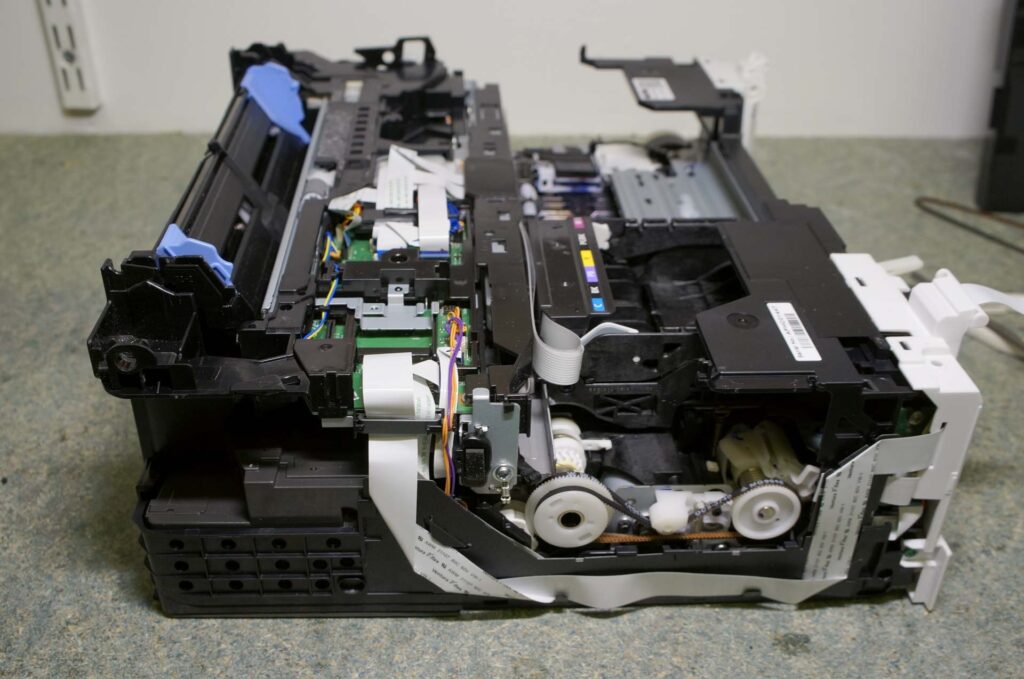
Once the printer started coming apart it revealed a few things. First up, Canon appear to just love ribbon cables – there were loads or them, all neatly folded and routed. The routing for the motor and sensor wiring was pretty nice as well. There were also an incredible number of springs, compression, tension and torsion.
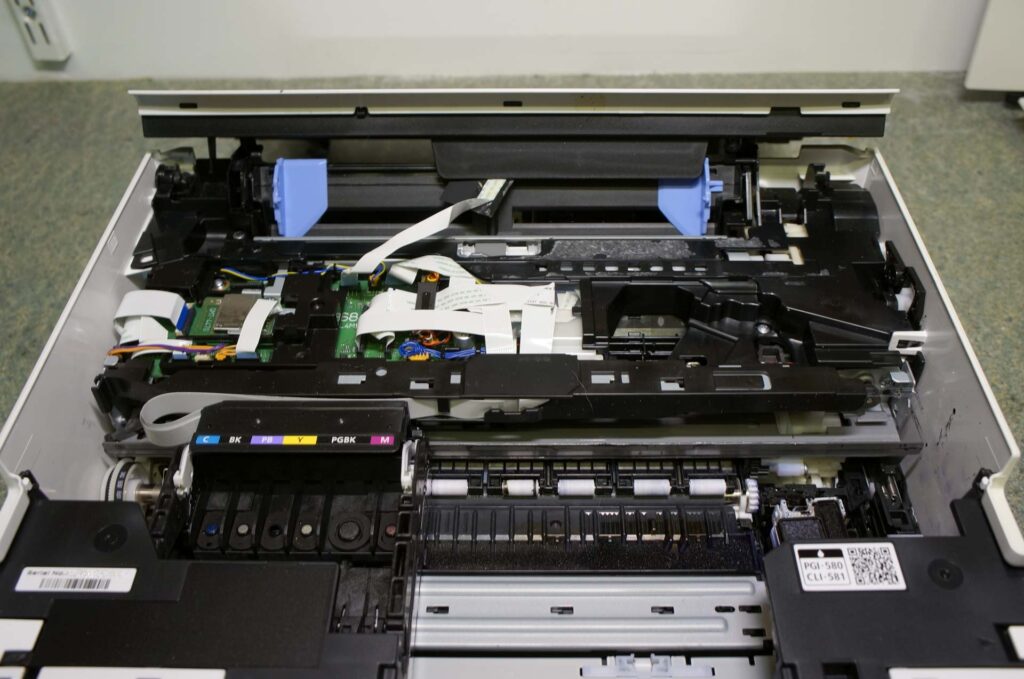
The chassis is much smaller than the HP with a lot less metal. Design-wise you have to take your hat off to the team that put it all together – it’s very compact and intricate.
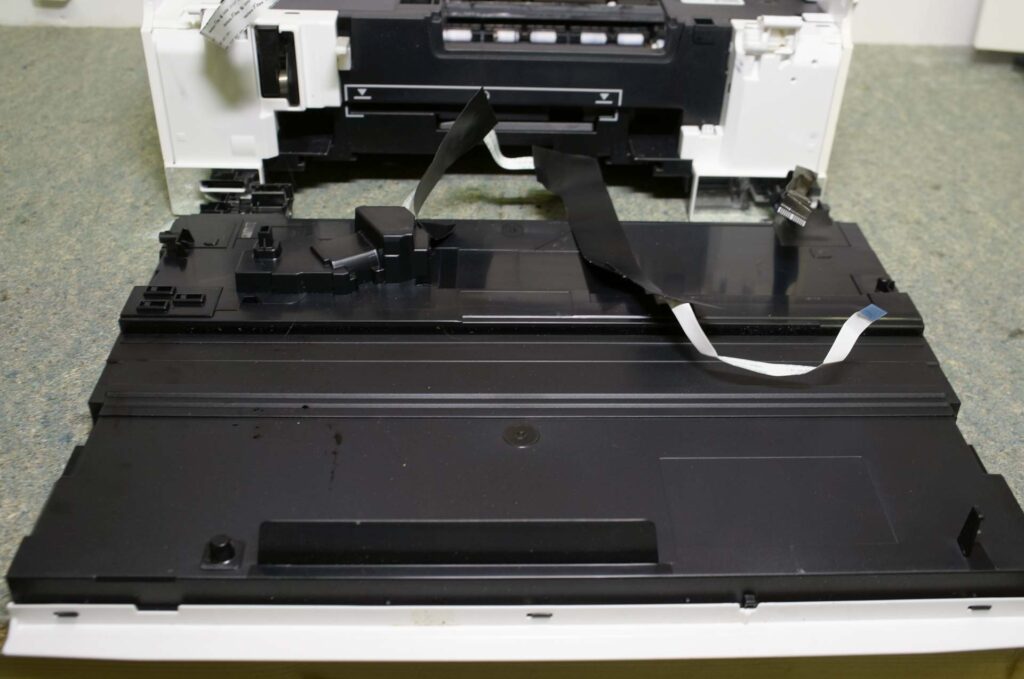
Scanner
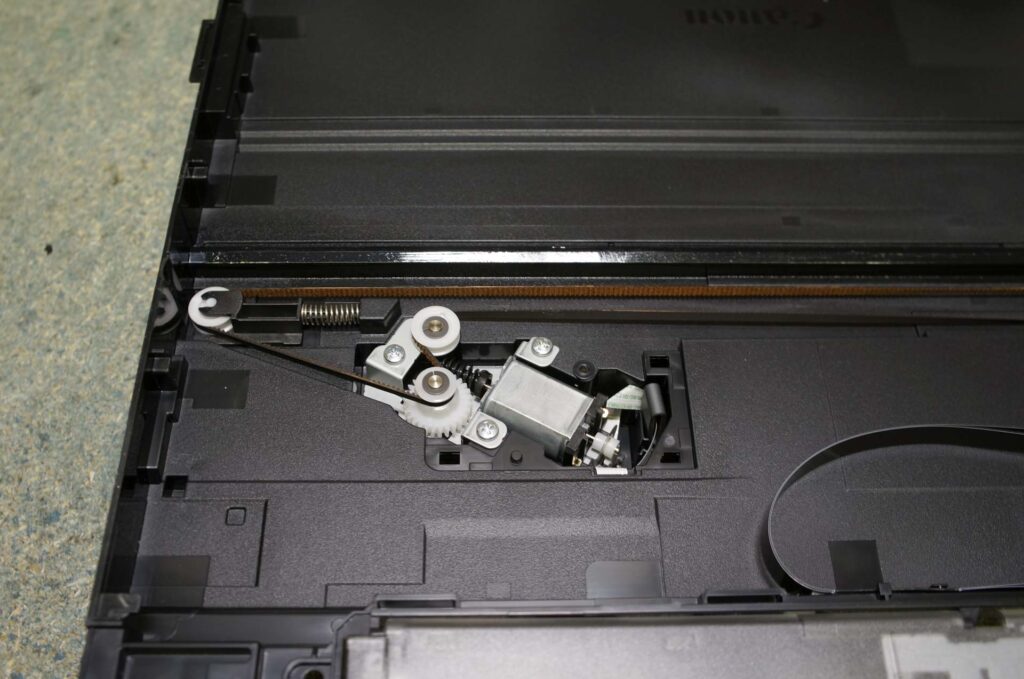
The first of the major mechanisms to come apart was the scanner as it’s self-contained and doesn’t take too much effort to get it apart. It contained the first (and smallest) of the electric motors, with an optical encoder and nice toothed belt drive mechanism:
and the printer …
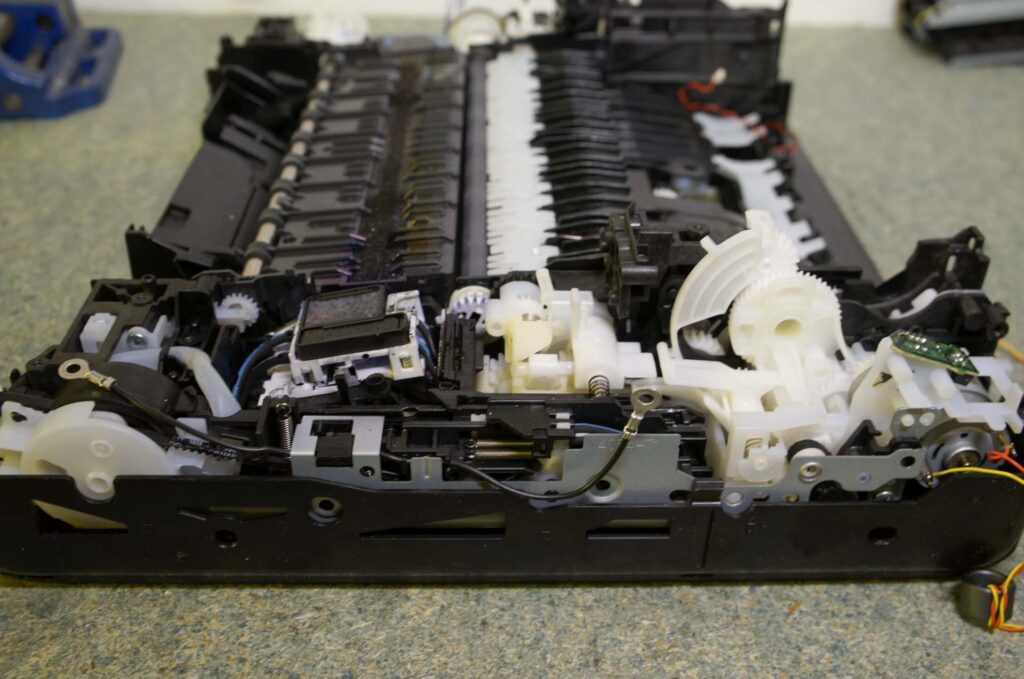
Down in the bottom of the printer some of the drive mechanisms looked promising too. Regarding motors, the designers seem to favour DC motors with optical sensors rather than steppers.
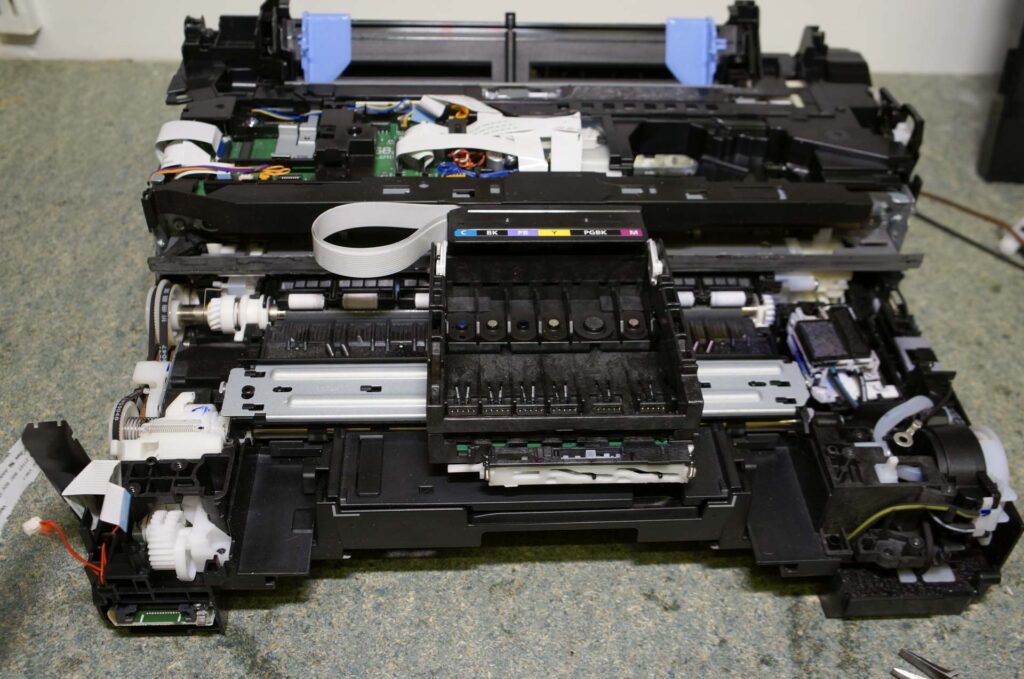
There were some very inky parts when I got down to this level of the chassis. The cartidge holder was away by now, but in the lower-left corner if the picture below is a pump mechanism with flexible tubing that presumably pressurised the inkjet system. There was lots of ink kicking around in this area!
After the last of the sub-assemblies had been taken to pieces this is what I’d put in the “useful” pile:
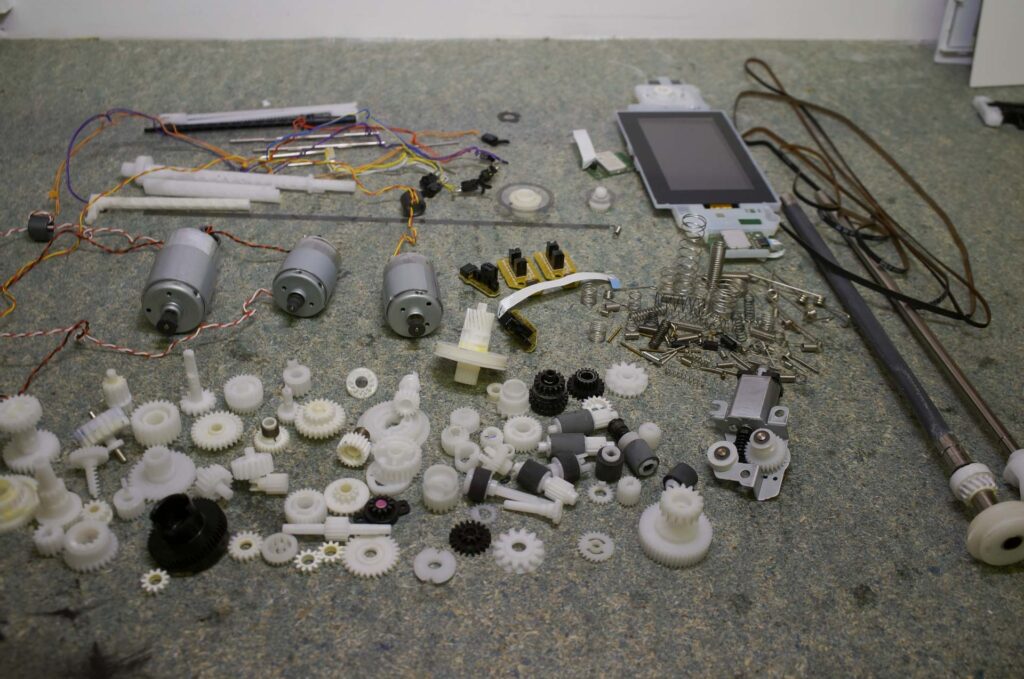
Recovered Parts
In list form, the bounty from this printer was:
- Large-ish DC motor,
- Two medium DC motors,
- Small DC motor,
- LCD display,
- Wifi module,
- Six photo interrupters,
- Six (tiny) limit switches,
- Pump core (I think it’s a peristaltic type),
- Steel and plastic shafts,
- Gear wheels,
- Toothed belts and drive wheels,
- Springs – loads of them: compression, tension and torsion, and
- Loads of self tapping screws.
Once again there was also a selection of plastic and metal to ship off to the recycling centre, plus in this case a compact PSU which needs investigating to see if might be of any use for a future build.
So that’s about it: two broken printers reduced to a pile of bits, and the parts bin restocked for the cost of a few hours effort and a very inky pair of latex gloves. Now to start trying to reuse some of this recycled treasure …
And for actual printing? I bought an Epson Ecotank printer to replace the defunct ones – it’s not quite as quick as the HP but it’s cheaper to run and it prints colour without the constant need to buy replacement cartridges.