You have to be careful what you write! At the end of my last post I made a throw away comment that a fixed ND filter for my flare adapter might be a future project. This got me thinking about the possibilities of a rear-mount ND1000 filter, as this seemed like the obvious first choice to me. Not a Big Stopper – a not very big stopper!
I already have a couple of more conventional ND1000’s. The first of these is a Nisi round screw-in version, which is brilliant and I’d use it on all my lenses if it fitted. The trouble is that it doesn’t – in fact I can only use it with a couple of my lenses without having to use a pile of adapter rings. The other problem with screw on ND1000’s is that after metering without the filter in place, screwing on and off with cold hands (I live 55° North, so cold hands are an occupational hazard) can be a bit of a trial.
My second ND1000 is naturally a 100mm square one. This is very flexible, but with the holder it’s bulky to carry around, needing my biggest camera bag. It’s also fiddly to work with out on location and carries the risk of dropping the filter in sand, rocks or water (or a combination of the three). I’ve heard lots of stories of photographers destroying square filters by doing this.
By contrast a rear mount ND1000 should have the advantage of being small to carry around and easy to deploy. Sounds like a winner to me. I guess Canon think so too as they’ve made a very smart (if expensive) drop-in rear mount variable ND for the EOS R system.
The Donor
Taking a few measurements from the insert for my flare filter holder, it looked like a 46mm filter was probably the biggest size I could fit without a complete redesign. Naturally I didn’t have any 46mm filters to prototype with – I have lots of 49mm ones, but they’re too big. A quick hunt around on eBay suggested that it wasn’t worth buying a random filter to prototype with, so I bought a cheap Pig Iron brand 46mm ND1000. From the reviews I’ve seen of these they’re not too bad optically, and certainly won’t be out of place behind a 50 year old M42 lens.
When the filter arrived a first inspection showed that it wasn’t going to be that easy to remove the glass from the housing – no spring clip or unscrewable slotted retaining ring. There was a retaining ring, but it looked like it might be glued in place. It transpired that it was unscrewable, although I had to pretty much destroy it to get it out by forcing it away from the frame to reveal the threads as I couldn’t get it to turn. Eventually the ring came away, allowing the glass element to drop out.
The result wasn’t pretty, but luckily the glass came through it unscathed. What doesn’t show in the picture of the slightly chewed-up looking frame and ring below is how twisted the retaining ring now is:
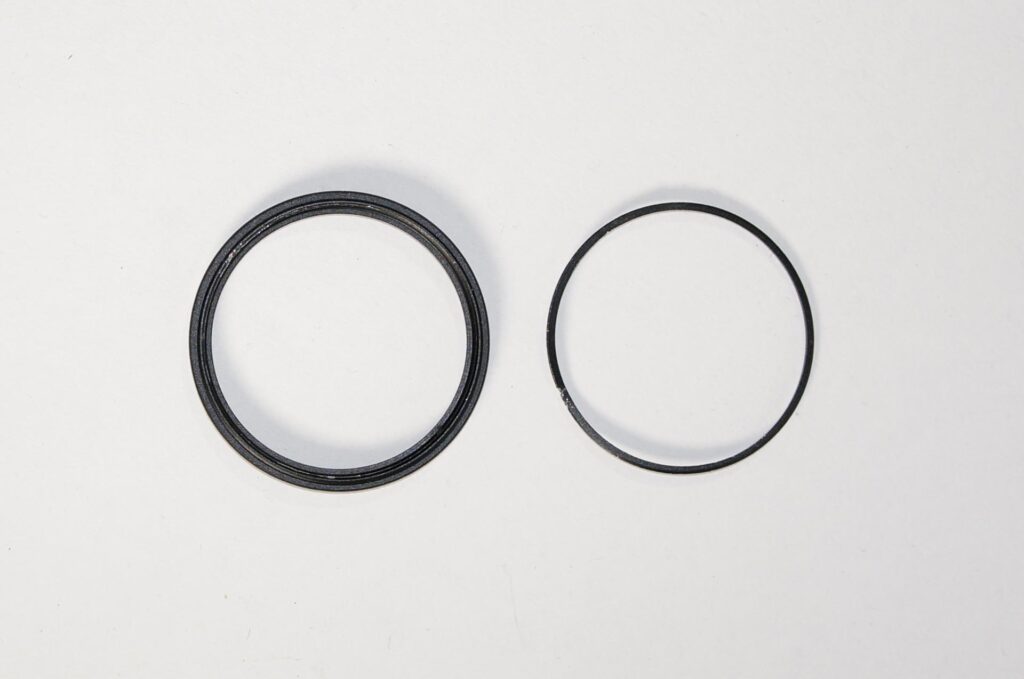
Measuring the filter glass after removal gave a diameter of about 43mm and a thickness of roughly 1.1mm.
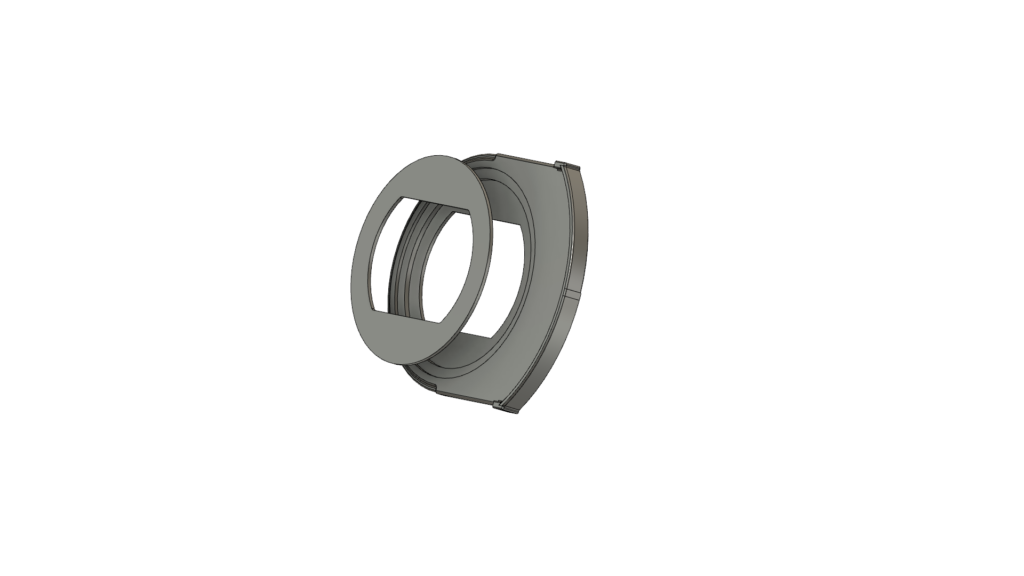
The Insert
Jumping back into Fusion 360 and modifying the existing insert (as a new component) I reduced the diameter of the existing cutout from 44mm to 43.2mm and increased its depth. This allowed the filter glass to drop into the recess with the glass surfaces below the surfaces of the insert. There’s also an additional recess to fit a new retaining ring to stop the glass from falling straight back out, as I didn’t really want to glue the glass directly in place. The new retaining ring is based on the flare ring from the original design, but is slightly thinner and without the groove for the fishing line.
Stereolithography files for the insert and retaining ring can be downloaded here. The insert and ring were printed with the same Technology Outlet deep black PLA filament as I used for the rest of the adapter parts. Layer thickness was once again set to fine – 0.12mm on my printer – to maximise the number of layers, as these parts are quite thin in places.
Putting It Together
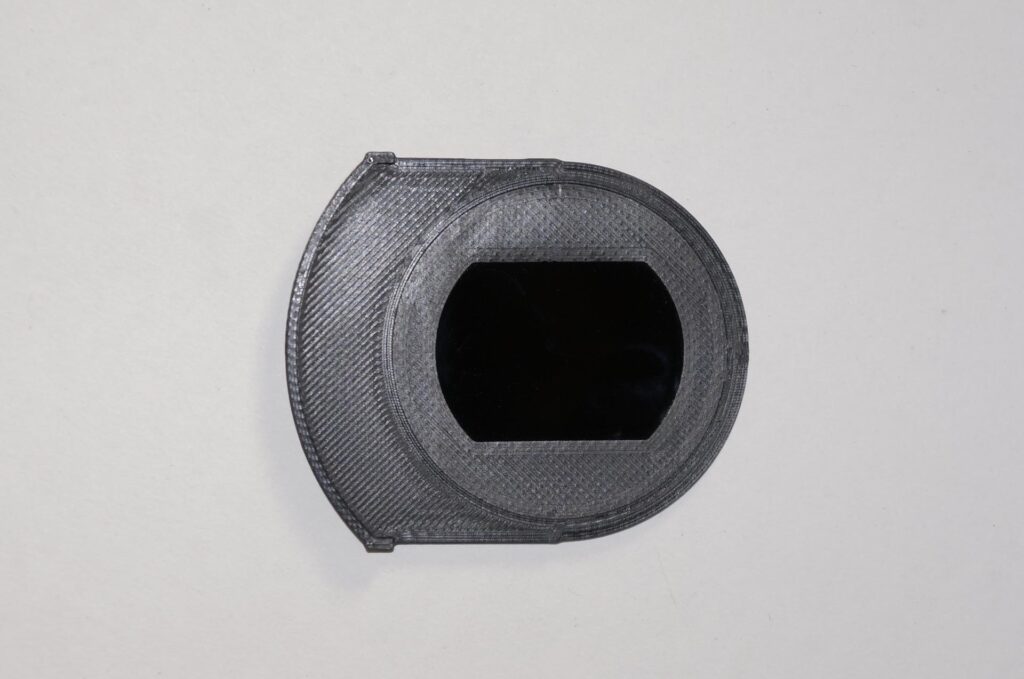
Not exactly complicated this one! I gave the filter glass a good clean and dropped into the recess in the insert. A small amount of J-B Weld adhesive was dotted round the larger recess and the retaining ring pushed into place. The insert was then clamped and left to set for 24 hours. I used J-B weld rather than my usual 5 minute epoxy as it dries dark gray (rather than my current batch of 5-minute epoxy, which ends up a shiny snot colour), so wouldn’t show as badly if any excess squeezed round the edge of the filter ring.
The completed insert looks like this:
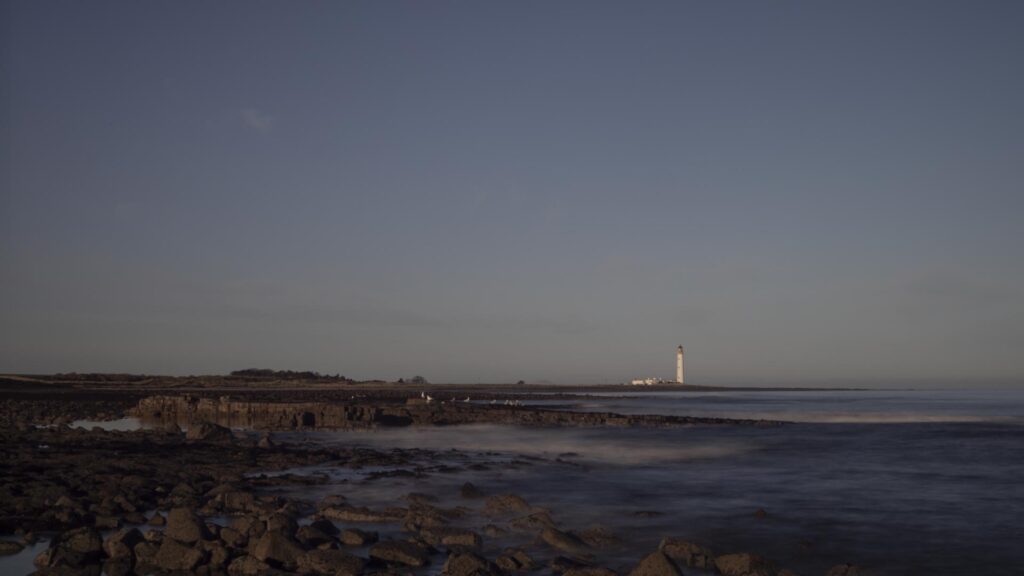
To try the filter out I headed down the coast to one of the local-ish lighthouses to take a few shots. For once, considering it’s late November, it was a very clear and bright morning. This meant I could only get down to a four second exposure at minimum aperture (f16), but it shows that the filter does the job. It’s very easy to use – a lot quicker than either of my existing ND1000 solutions.
The combination of the Helios 44M-4 lens and the Pig Iron ND filter is never going to give the absolute sharpest pictures, but as I said earlier I think this filter is good enough for my Soviet era M42 lenses. If I do manage to get my hands on a really sharp M42 lens (not sure what make that would be) it’ll probably be worth buying a better quality ND1000 and making an extra insert from that.
And for my Canon lenses? Maybe I need to start saving up for that Canon adapter …