In my post about building an LED light panel from an old computer monitor I said it would be useful to be able to add some diffusion to the front to soften the light output a bit further.
While I can do this by pointing it through a regular free-standing diffuser, I thought it would be neater to have something that just clips onto the front of the light panel. When I stripped down the original monitor I kept the flexible diffusion and fresnel layers for exactly this purpose. There was also an approximately 8mm thick perspex sheet giving rigidity and a bit of extra diffusion, but that was never going to be reused as it was very thick and far too heavy for a part that has to be easily removable.
The diffusion and fresnel layers are flexible sheets, so to make the diffuser work it needed to add some rigidity. This could be provided by a frame to locate it on the front of the monitor body, with a stiff sheet to keep the flimsy fresnel and diffusion layers in shape. Alternatively two rigid sheets could sandwich the flexible layers, with four corner pieces to clip it to the monitor. Choices, choices! I decided to go for the latter.
For the rigid sheets I managed to source two pieces of 2mm clear plexiglass that were cut to the size of the front of the monitor. The fresnel and diffusion layers were stuck together with narrow strips of clear double sided tape at the edges and were attached to the back plexiglass sheet using white electrical tape to give a clean looking edge.
With the fresnel and diffusion layers dealt with it was time to make the clip-on corners. To me this looked like an obvious job for 3D printed parts, so I went ahead and designed a corner using Fusion 360 – not the most complex design I’ve ever embarked on. The corners are in two parts, the outer part just being an L-shape with a long lip to cover the edges of the panel’s sheet layers. The inner is another L-shaped piece with recesses for mounting the magnets on the front (outer side).
With my light panel the top magnets are right in the corners (about 10mm in from the sides) but the bottom magnets had to be further from the edges. For simplicity I decided to design a single part that would work for all four corners. This explains the slightly odd-looking pattern of elongated recesses for the magnets. As an added complexity, when I built the panel I added a power light in the bottom right corner. This sticks out slightly, so there’s a recess on the back of the inner corner part to accomodate it.
Printing and Assembly
I printed the corners using clear PETG filament with a 0.2mm layer thickness, a nozzle temperature of 245° C and a bed temperature of 80 ° C. I’ve always printed this filament at slightly lower temperatures previously, but I think the results this time look better than my earlier efforts.
With all the corner parts printed the diffuser could be assembled. I held the outer pieces in place over the plexiglass and the sheets were drilled with 2mm clearance holes using the countersunk holes in the outer as a drilling guide. The holes in the inner were then tapped with a M2 machine tap.
The outer and inner pieces were fixed to the corners of the plexiglass using 10mm M2 countersunk bolts. Magnets were added to the slots in the inner pieces prior to assembly. It was important to make sure their polarity was correct so that they attracted to the ones in the front of the light panel. The good news here is that the magnets don’t have to be glued in place, so it’s fairly easy to take the corner apart and turn the magnets over if you get it wrong.
With hindsight the 2mm plexiglass is thicker (and a lot heavier) than is really necessary – 1mm would probably have done the job better. The assembled diffuser weighs in at about 850g, so it seemed like a good idea to add a bit of extra magnetic strength to the front of the light panel. The front bezel of the monitor was removed and an additional pair of magnets glued in place on the top edge to align with the magnets located about 90mm in from the corners of the diffuser, making sure their polarity was the same as the ones that had previously been glued into the bezel.
Just to tidy up the look of the diffuser I designed a filler piece that clips to the top and bottom edges of the panel. I printed two of these using the same PETG as the corner pieces. The fillers just slide into the gap between the corner pieces. I was going to do the same for the sides, but decided the panel looks fine without them. STL files for the outer and inner corners and filler piece can be downloaded here.
In use the diffuser clips on to the light panel reasonably firmly, although the magnetic attraction isn’t super-strong. However, using it on a boom arm angled down very far would be asking for trouble. When it’s in place it looks like this:
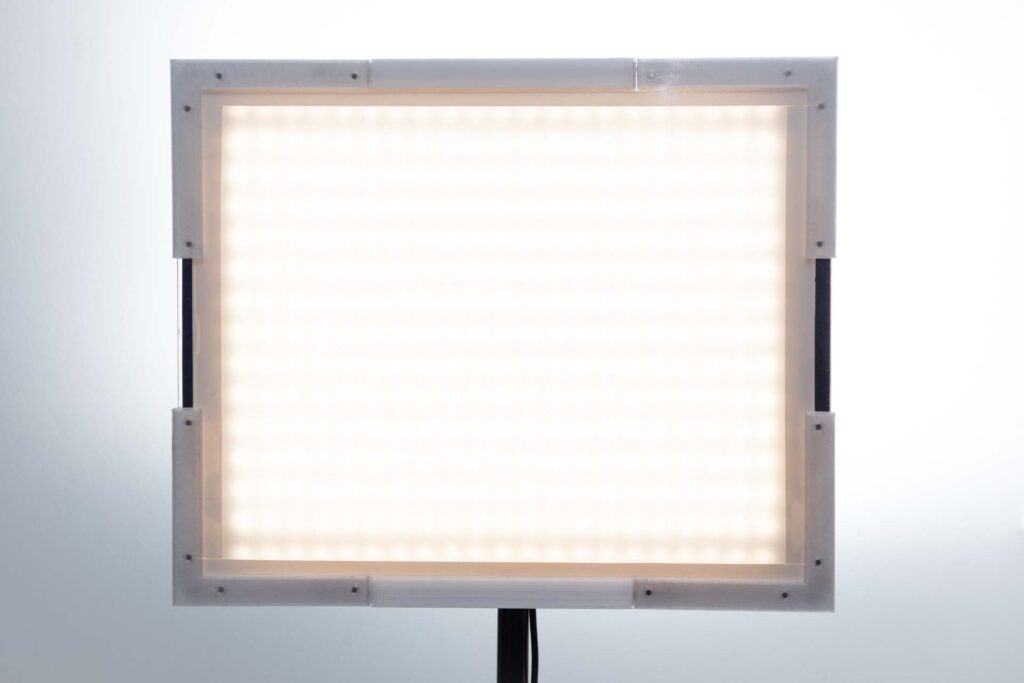
The light panels has a relatively large area so the light it produces is quite soft. The diffuser softens it down a bit further as demonstrated by the picture below:
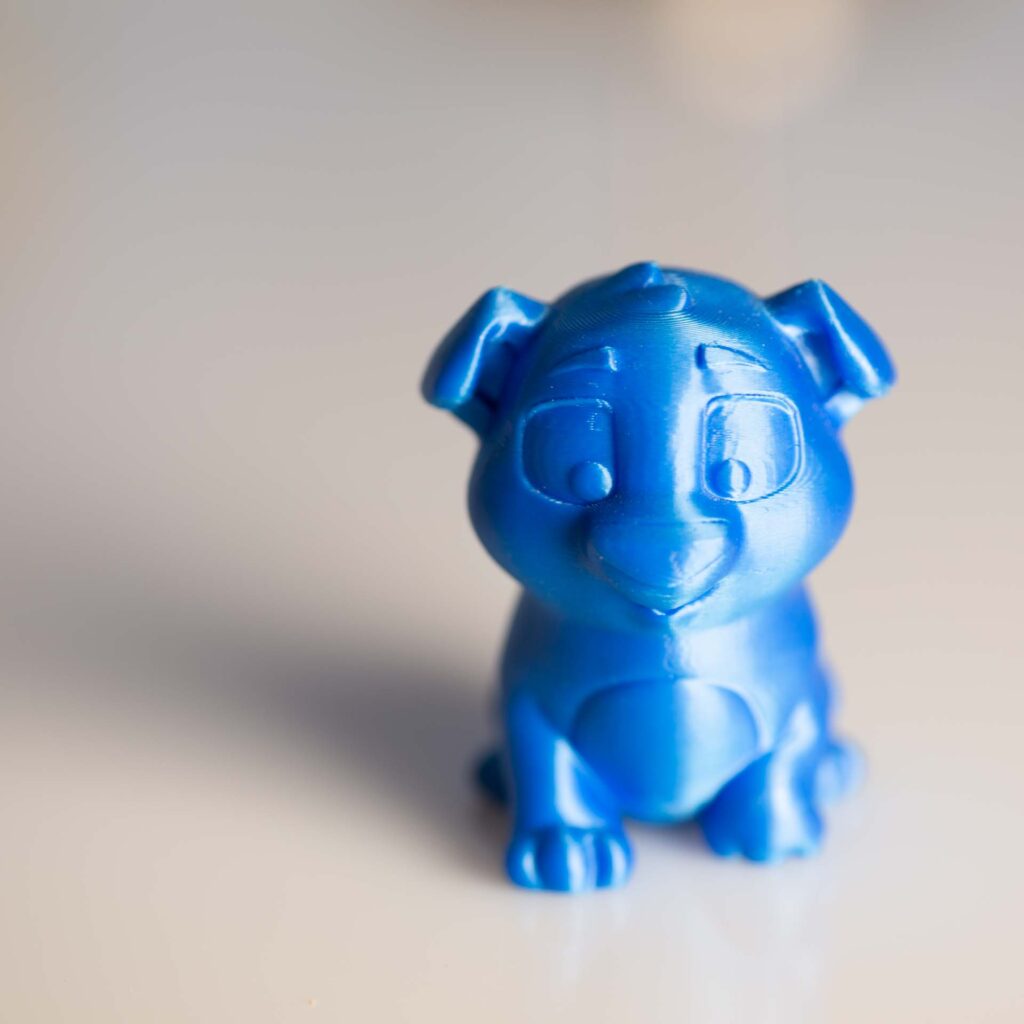
For this shot the light panel was pretty close to the subject, but the resulting shadow is very soft. Note: apart from the crop this photo is pretty much straight out of camera. (The blue dog was the first print to roll off my 3D printer about a year ago)
One thought on “Diffuser for LED Light Panel”