One of the goals in my earlier post about producing anamorphic style artefacts by modifying the aperture of a Pentacon 50mm lens was to create the horizontal flares that are characteristic for these lenses. While fixing a fine strand of fishing line vertically across the new aperture does produce great flares, it also leaves an ugly shadow line in the elliptical out of focus highlights. As a result I opted not to include the fishing line in the final version of my lens mod. So now I need to work out how to make a stand-alone filter to give me those horizontal flares.
Version 1: Hacked Polarising Filter
My first attempt was to remove the glass from an old (linear, and therefore no use to a DSLR user) polarising filter and use the filter’s housing (frame?) to hold a piece of fishing line across the front of the lens. This required a bit if relatively ‘precision’ drilling to get the holes in the right place and opposite each other, but this isn’t an issue using a drill press. Once the holes were drilled, the fishing line (0.1mm diameter/2lb weight) was threaded through, put under tension and glued in place using rapid setting epoxy. The resulting filter is shown below.

The positives of this version are that the flares are quite good, and their orientation can be controlled by rotating the filter ring, so the flares don’t have to be horizontal across the frame. However, testing it with my modified Pentacon 50mm ‘anamorphic edition’ showed up an interesting limitation of front mounted flare filters.
The image below left shows a test flare shot with the fishing line aligned vertically and the image below right with the camera (and elliptical aperture) oriented the same but having twisted the filter ring round so the fishing line was aligned horizontally. This illustrates that to get a good wide flare with the flare filter on the front of the lens, you need to be shooting a large (and not elliptical) aperture. This wasn’t something I’d ever thought about before!

The negatives of this version? Well it’s a filter housing with a bit of fishing line across it, so it’s a bit fragile. And, of course, it’s made out of a screw in filter (and a 49mm one at that) so I’m likely to either need a bag full of these to fit my other lenses, or I’m going to have to make a bigger version. In that case I’ll need a bag full of step up rings to allow me to use it with all my lenses. After that bit of pondering the next iteration somehow seems obvious …
Version 2: 100mm Square Filter
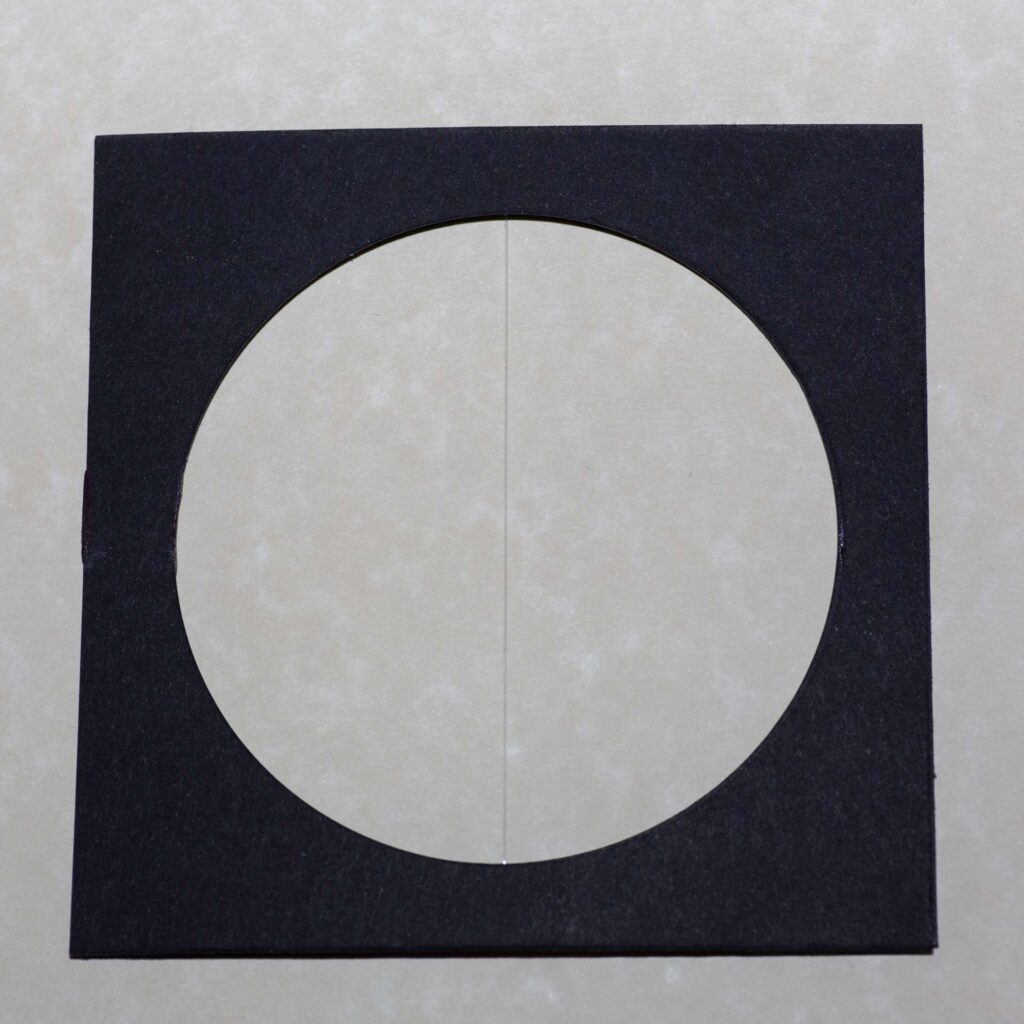
In order to try this out it seemed like a good idea to prototype it using black cardboard, since I’ve got loads of the stuff and it’s easy to cut. I made the hole in the centre circular as that should make it less likely to crease in the corners (since there aren’t any), and because I’ve got an Olfa compass cutter, so I might as well get some use out of it.
So, I cut two 100mm squares out of 300gsm black card, marked the centres and cut 40mm radius holes. Then it was just a case of glueing a length of fishing line to one of them across the round hole – in this case it’s easy to ensure it is exactly centred. When that was dry I glued the second piece of card on top. The finished article looks like this:
I made two of these using different weights of fishing line. The first uses 0.4mm diameter line (20lb/9kg weight) and the second 0.1mm diameter (same as I used for the 49mm polarising filter based one). As can be seen below, they create pretty decent flares – the image on the left is the version with the heavier line and the one on the right with the lightweight line, both taken using an unmodified Pentacon 50mm on a cropped sensor DSLR.


I think the flare with the heavier line is a bit over the top, and prefer the more subtle, but still strong, lighter version. The downfall of both of these, however, is their fragility. I managed to break the first one before I’d even used it, and I can’t imagine being able to carry either of them around and have any expectation that the line would still be in place when I took them out of my camera bag (even if they were stored in filter cases).
Version 3: The Back Loader
This one was put together as an experiment to see what the effect would be putting the flare filter at the back of the lens rather than the front. This at least means it should work reasonably well with the Pentacon lens with the elliptical aperture as well as with any of my other lenses I’m brave enough to try it with.
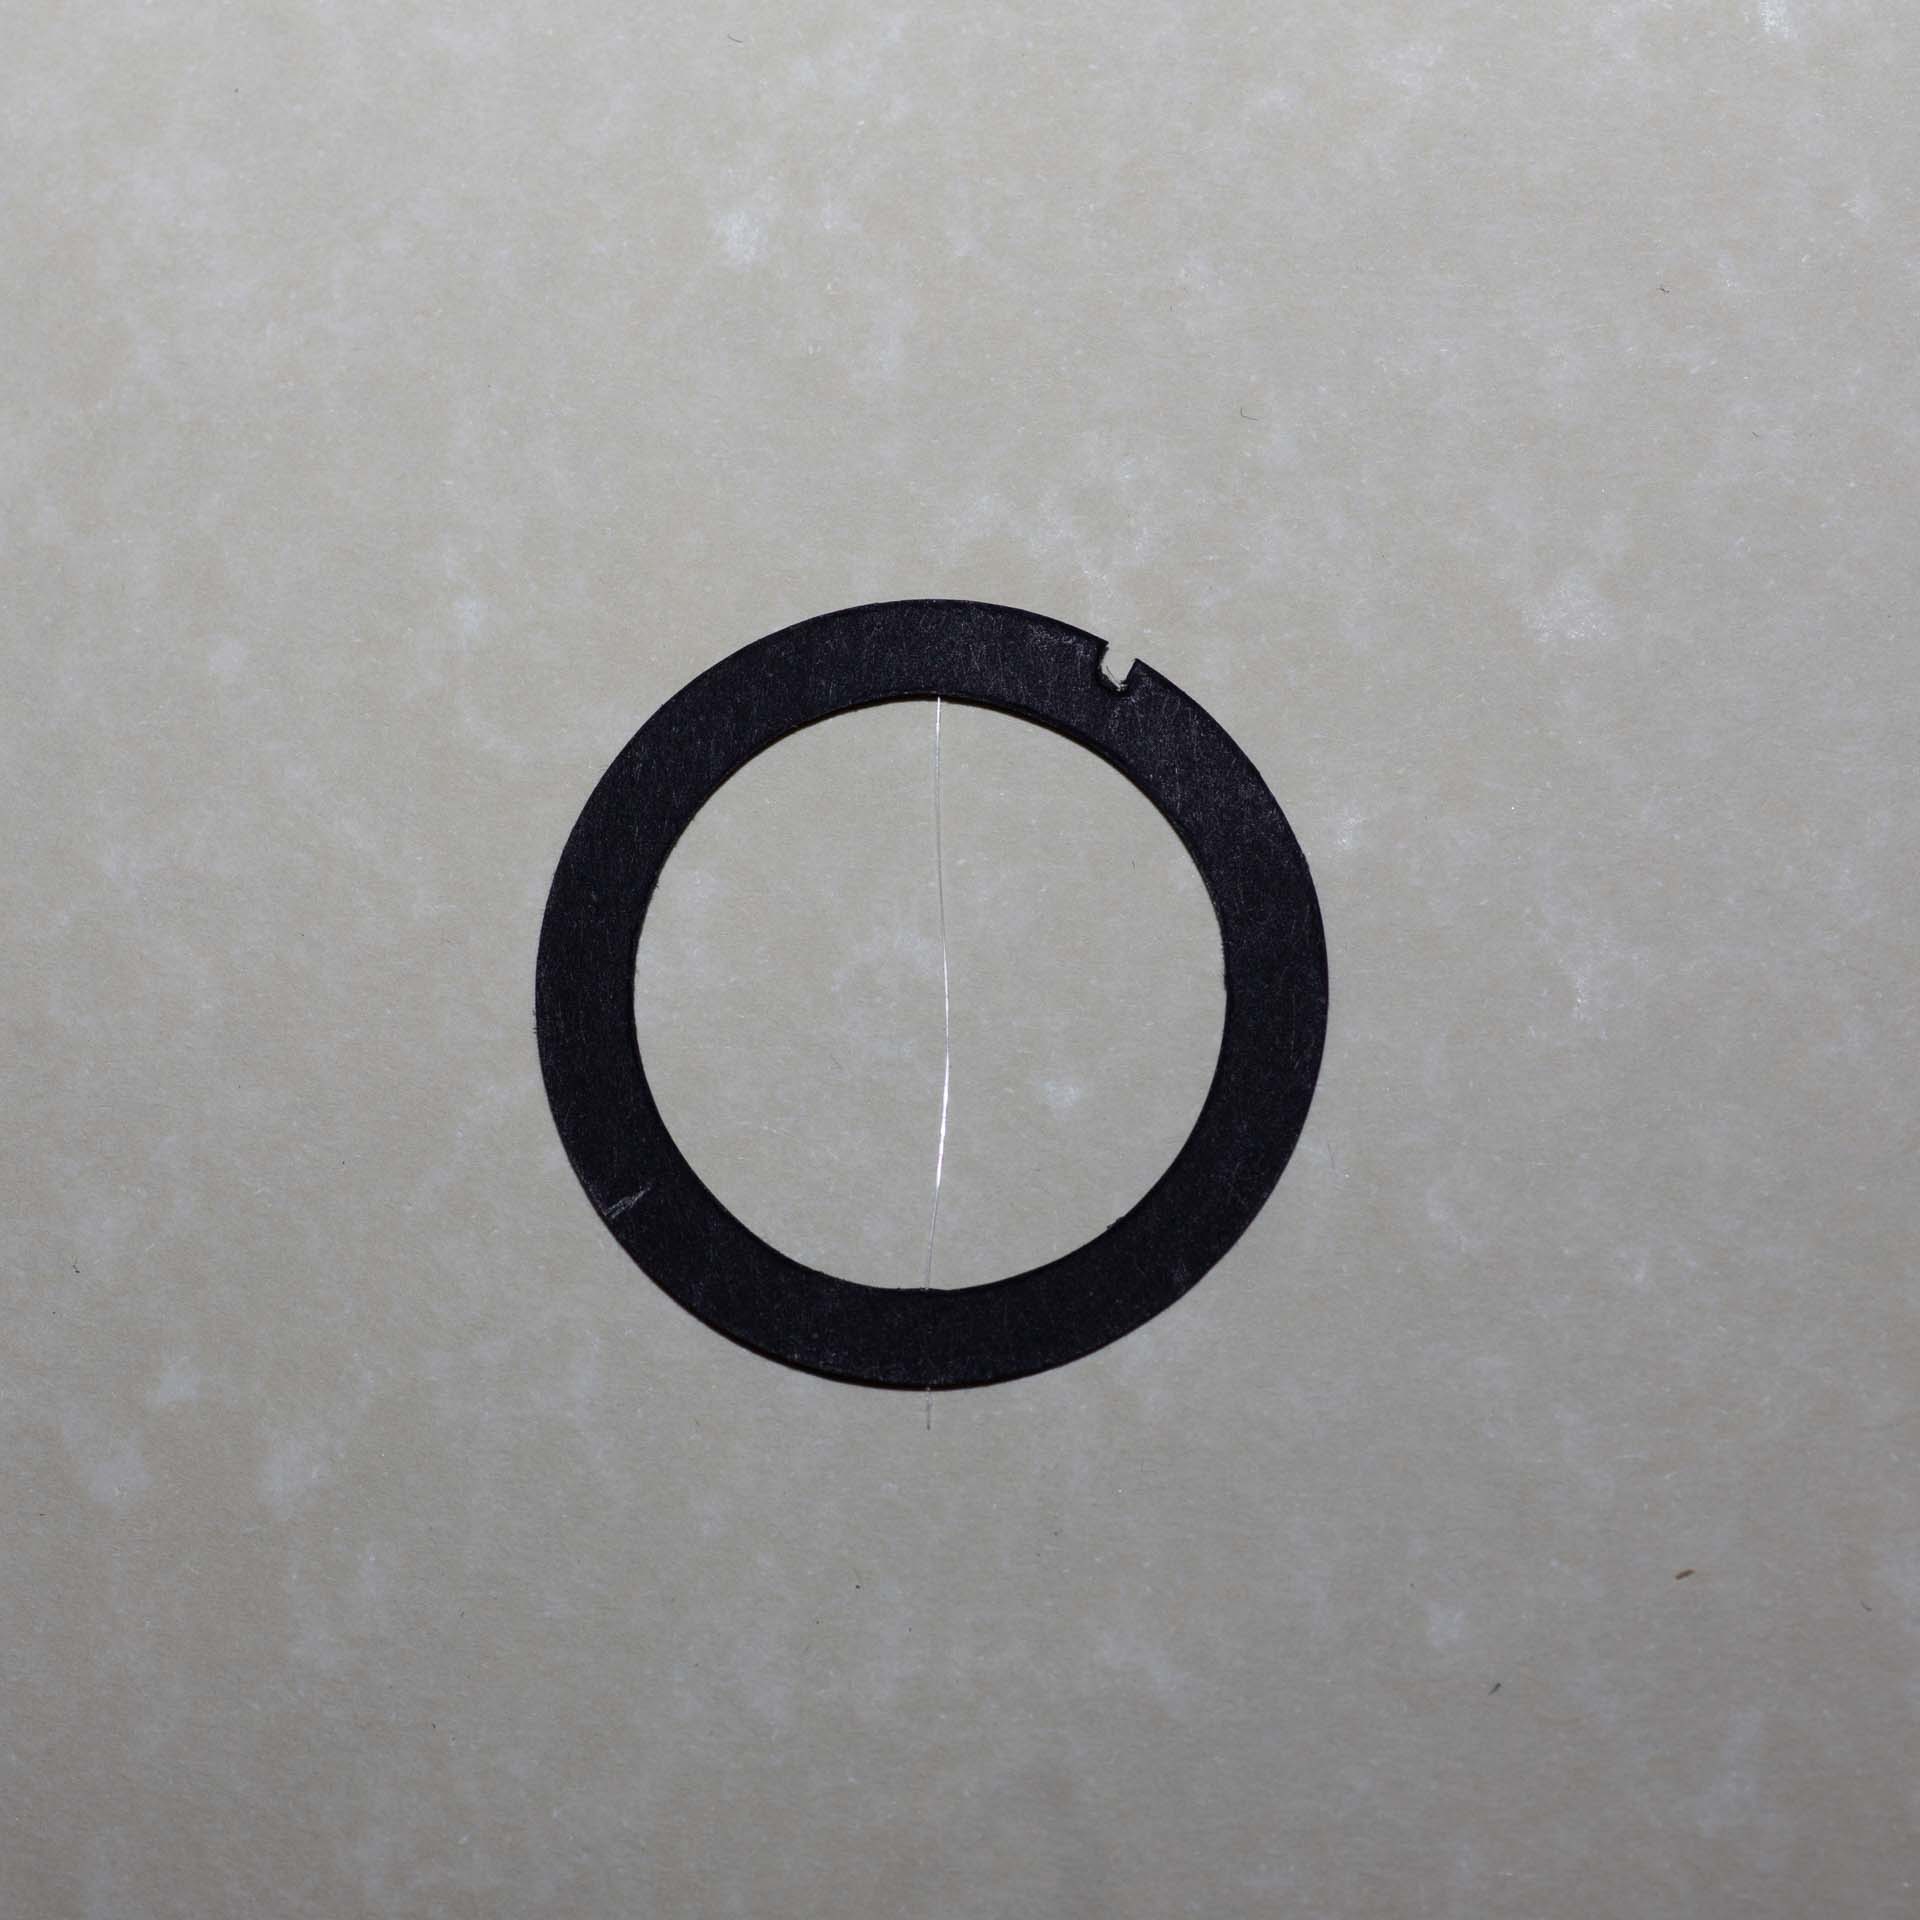
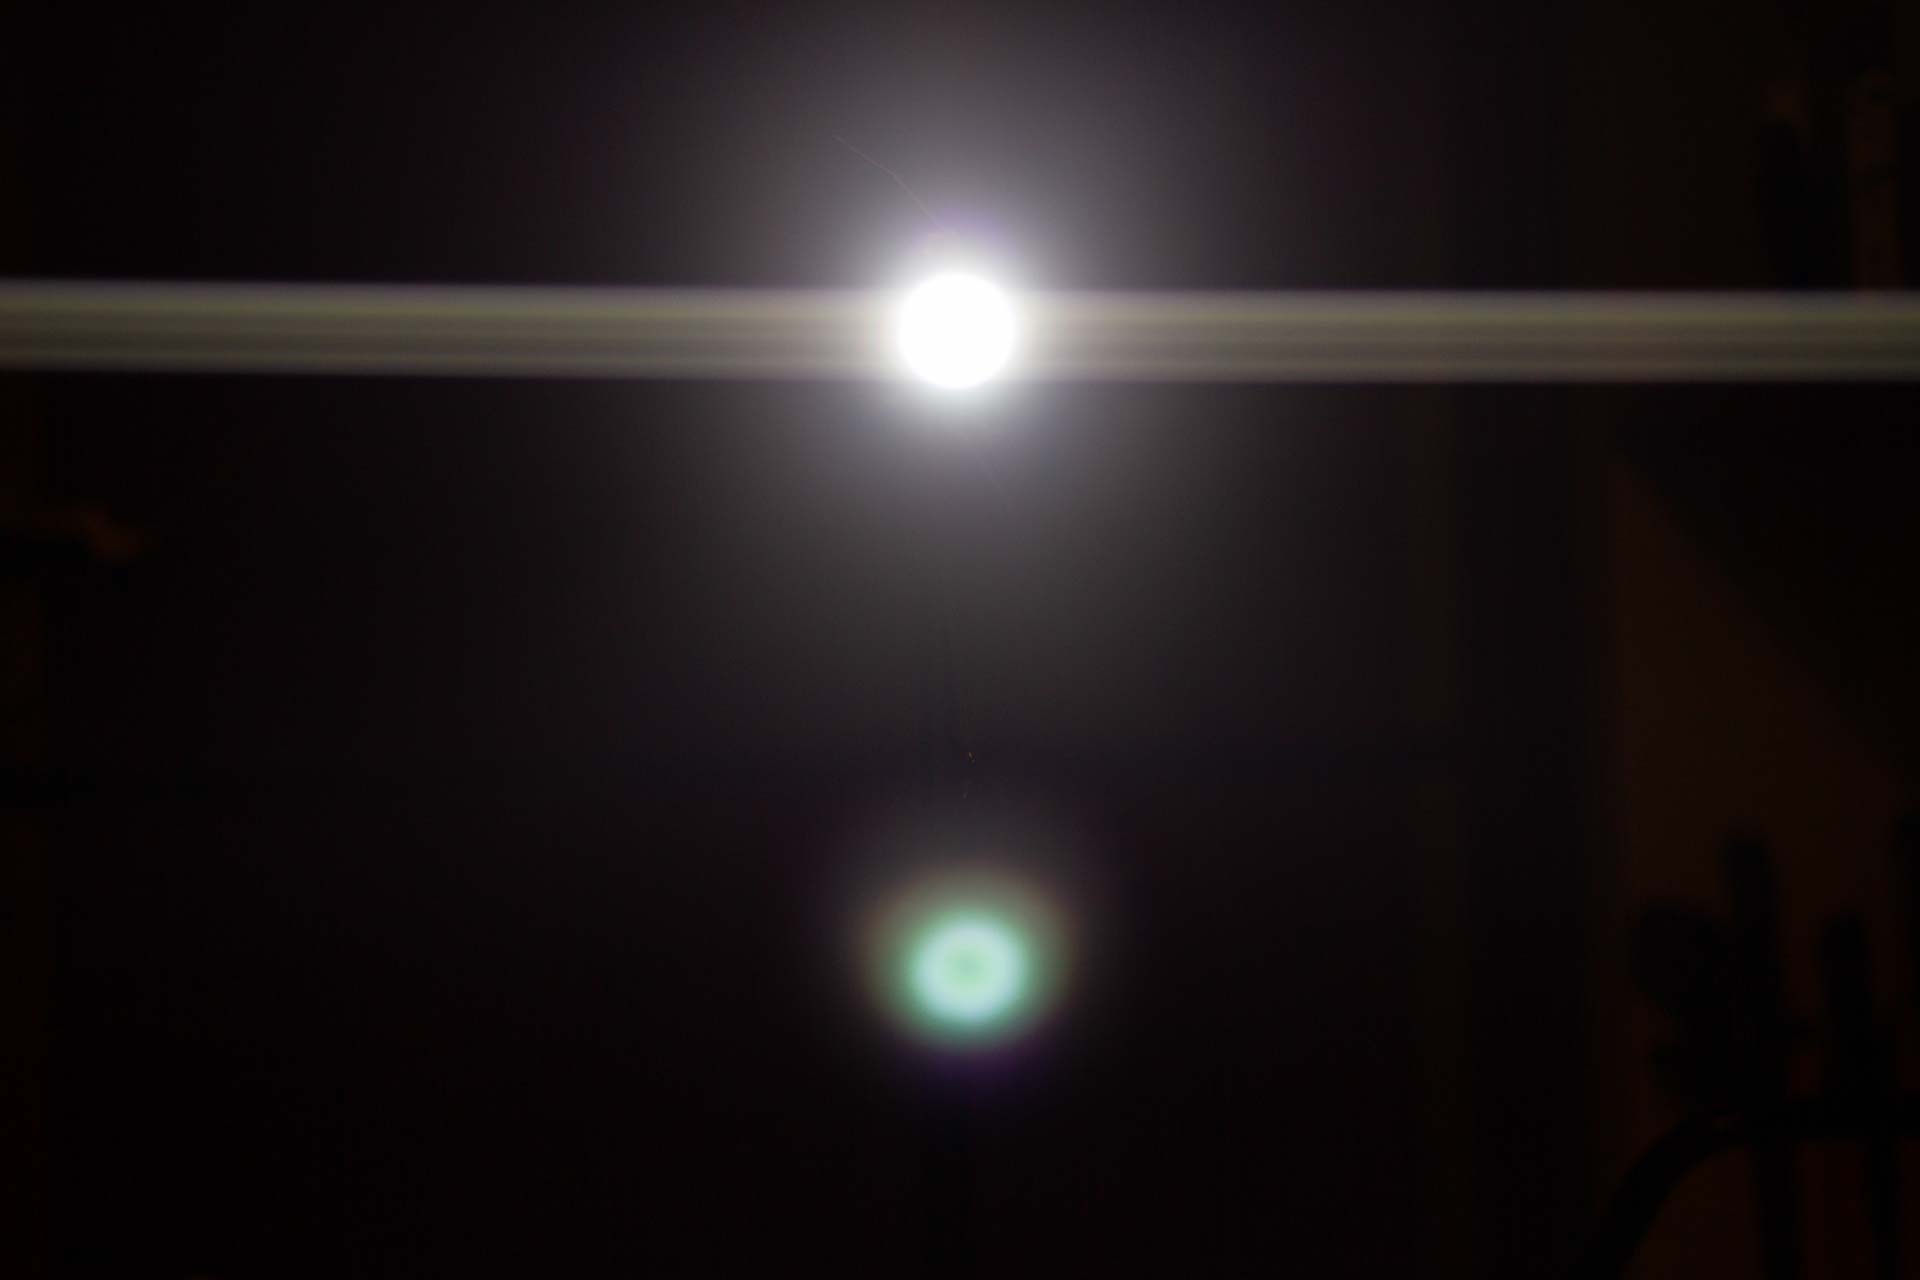
The flare element is a piece of the fine 0.1mm diameter fishing line again, taped to a 40mm diameter cardboard disk with a 30mm diameter cut-out. This fits on the rear of the Pentacon lens, and I cut a little slot to fit over the stop down pin to keep it oriented correctly when the Canon EF adapter was screwed on.
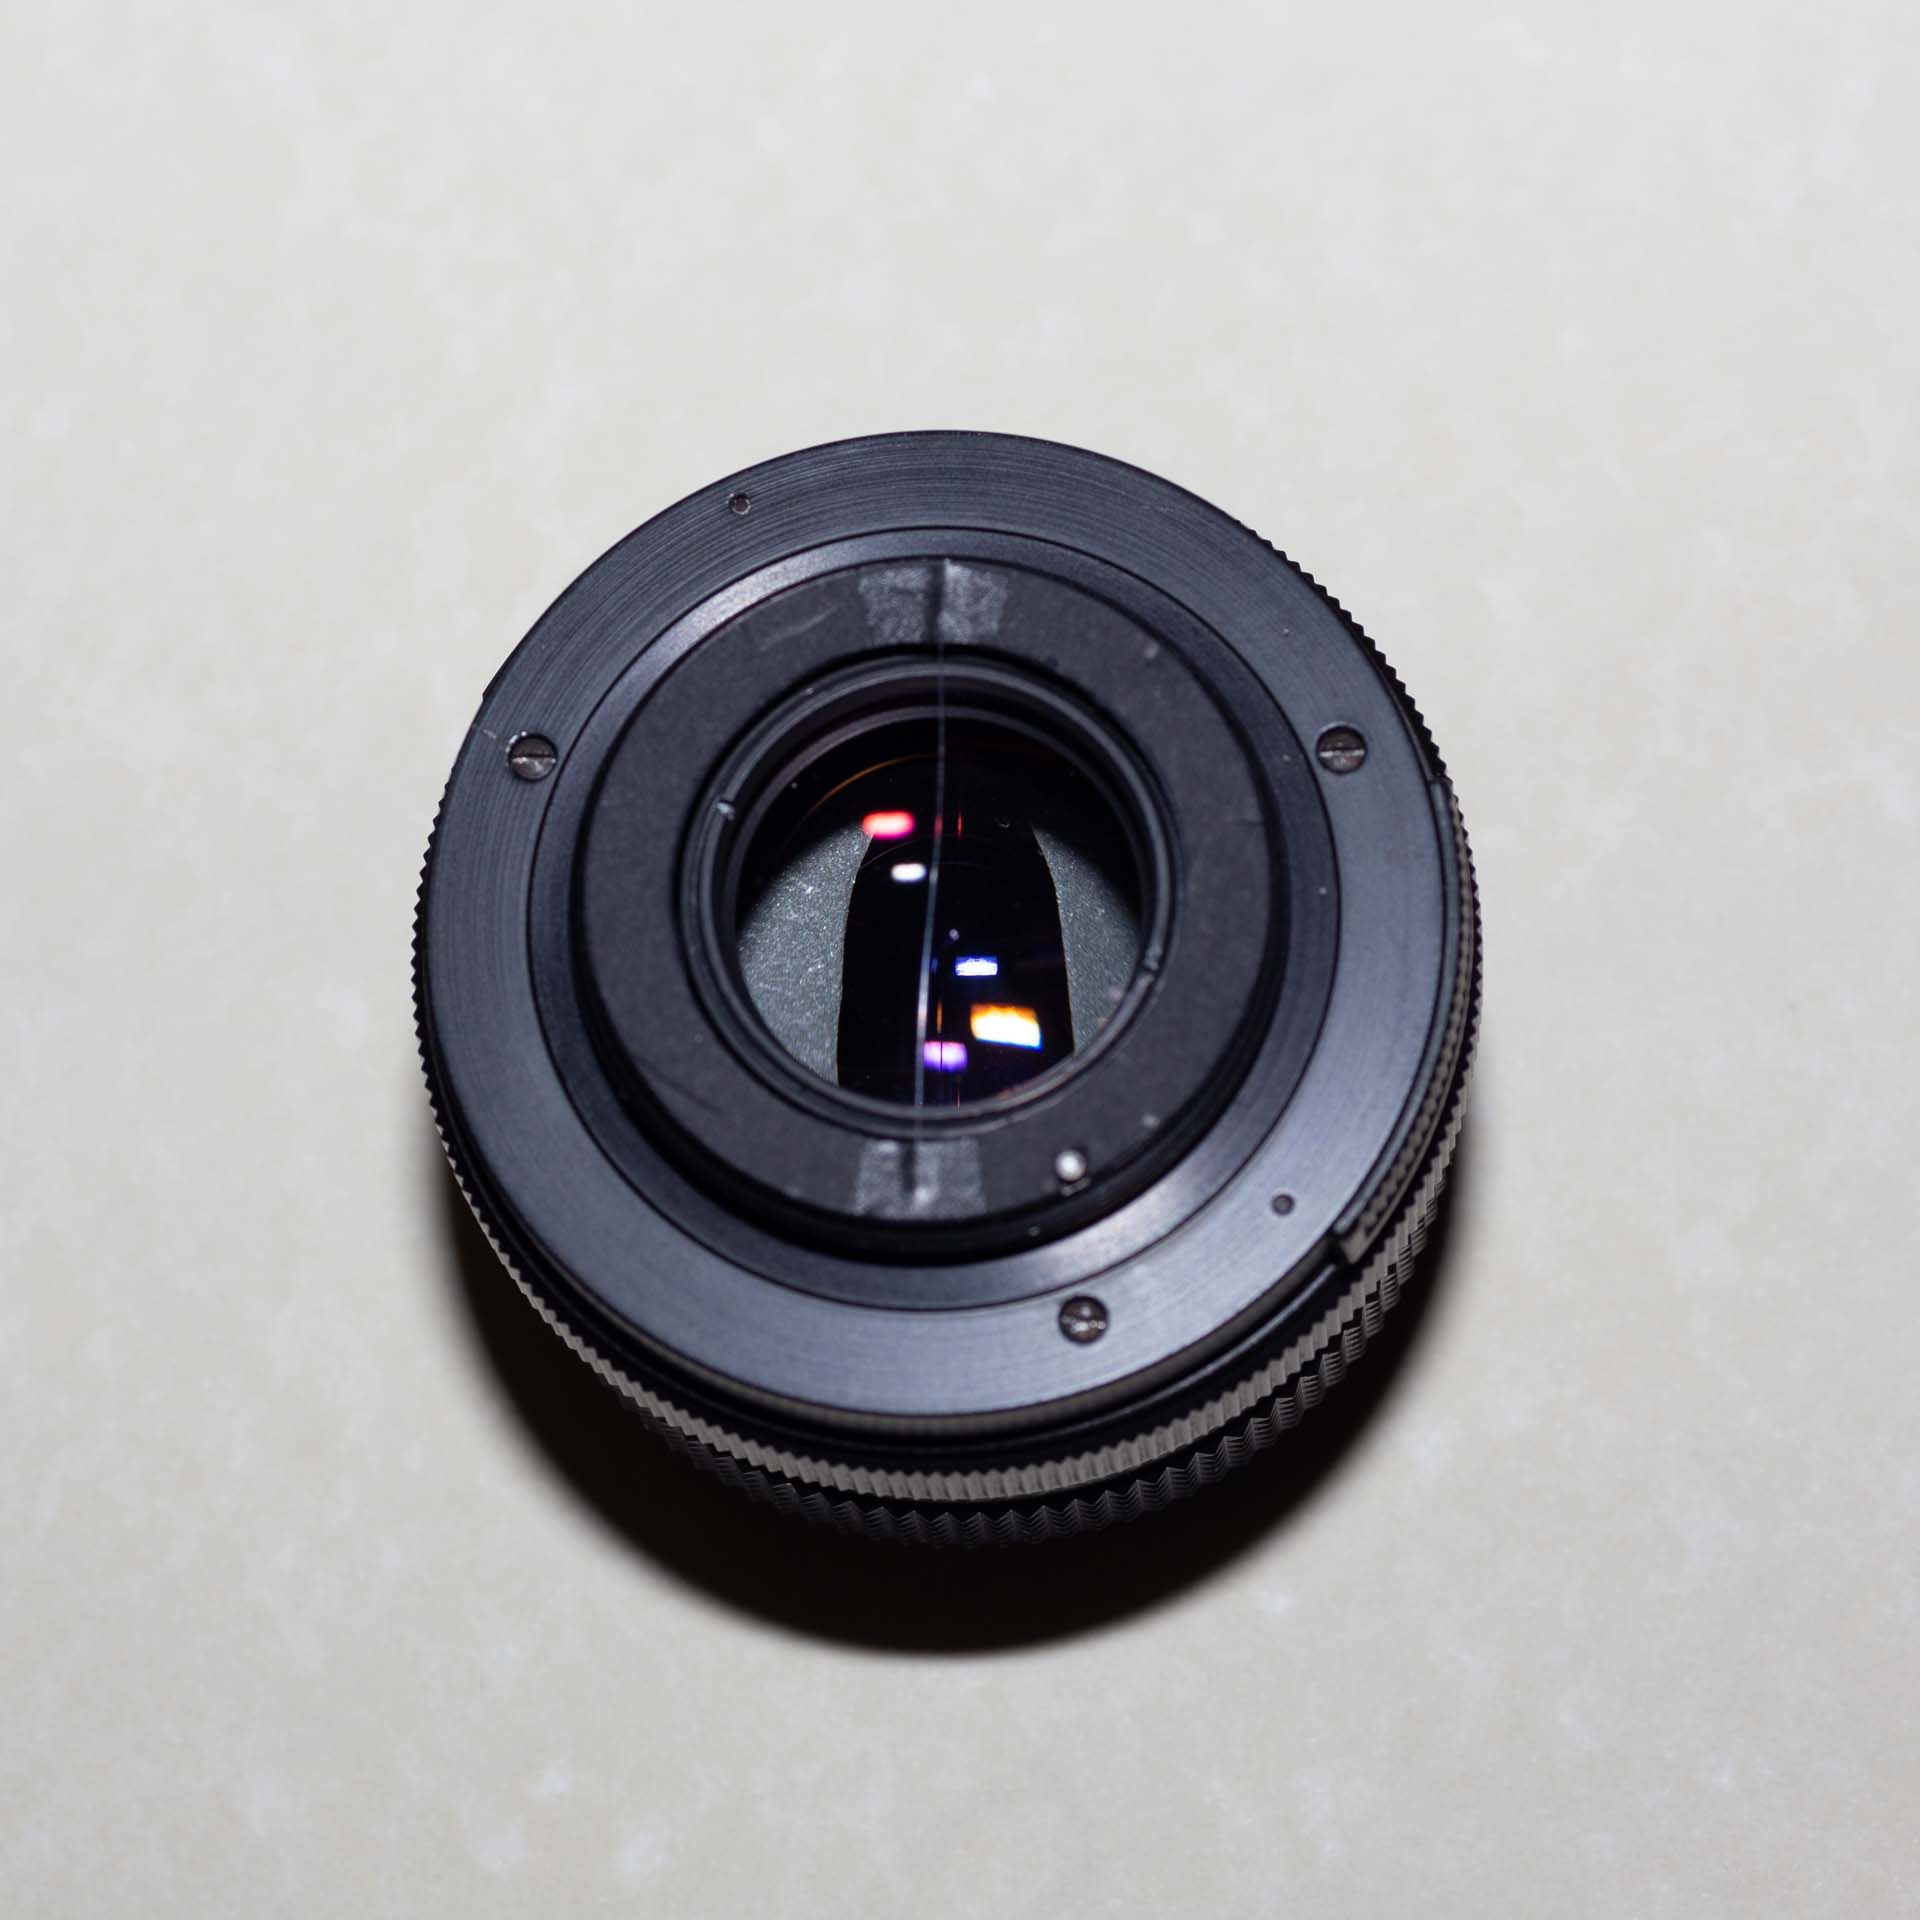
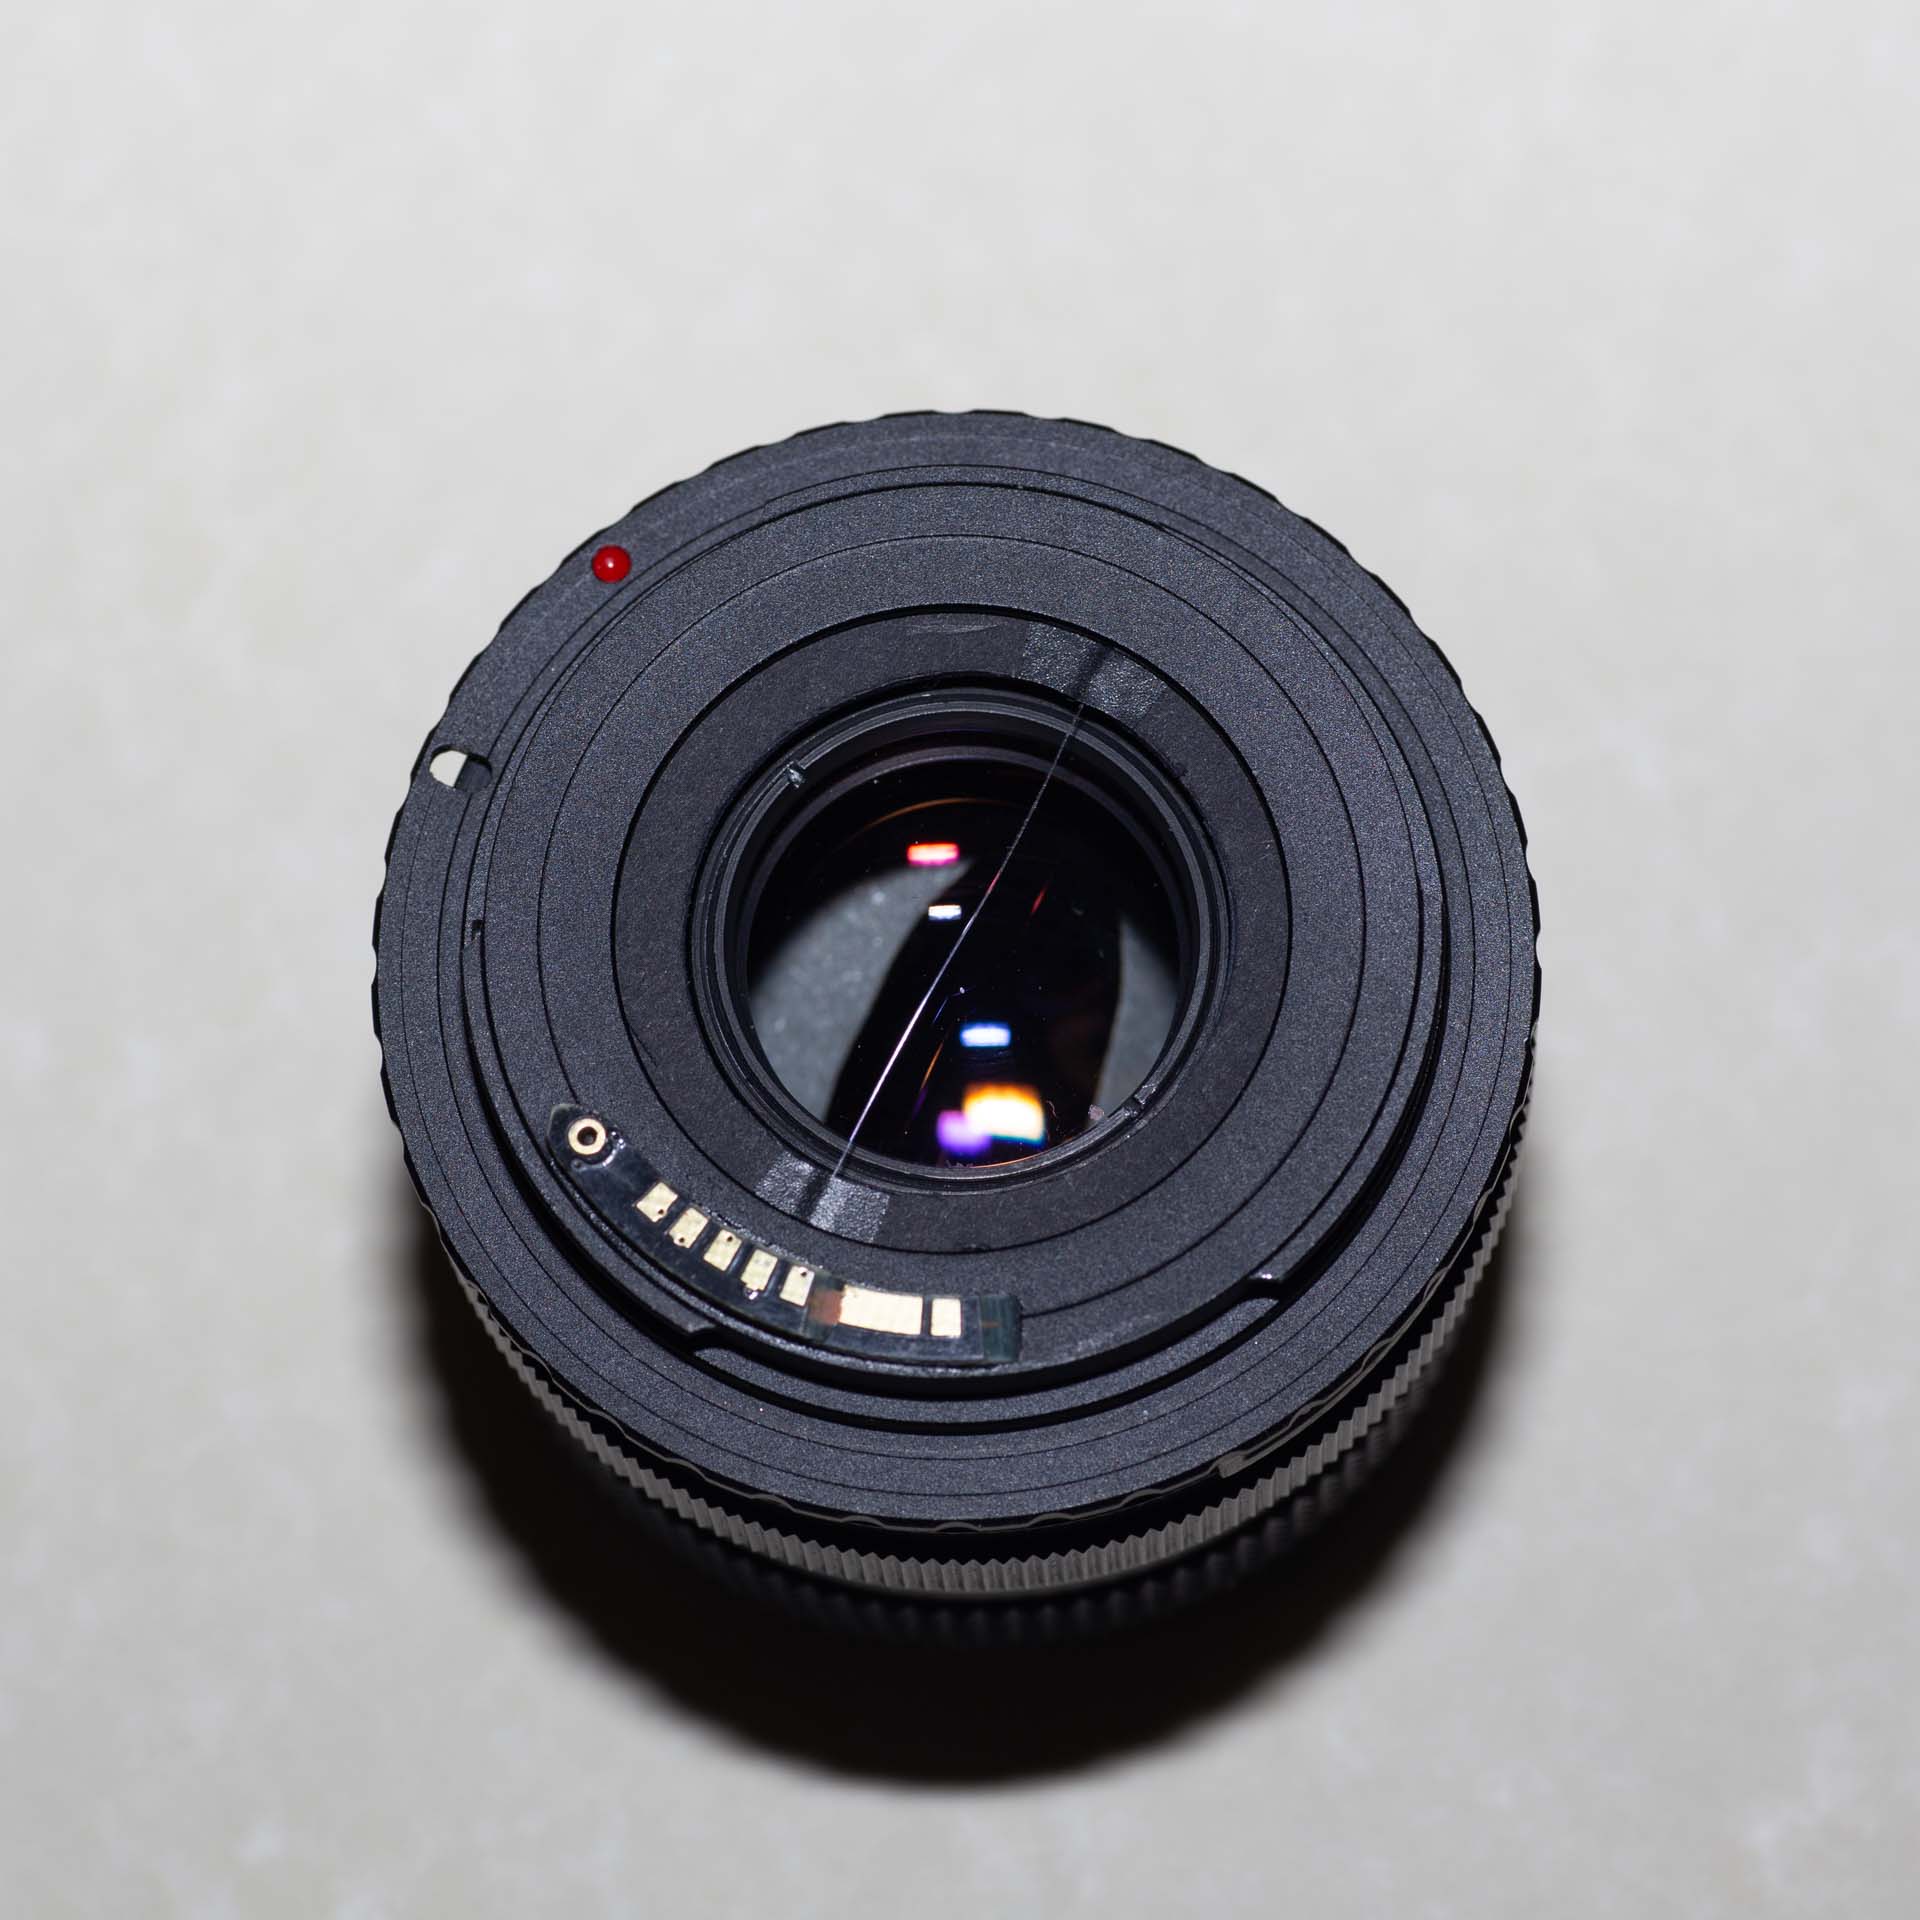
Now that’s all very fine, but you have to bear in mind that by the time the lens is focused at about 1.5 metres the rear group is starting to protrude beyond the back of the lens, and heading towards infinity focus that piece of fishing line will almost certainly end up breaking its moorings at one end. However, the flare produced is very good (if slightly off in horzontal alignment):

Version 4: The Compromise
Well, all of these earlier versions are capable of providing pretty decent flares, but unfortunately I don’t think any of them would be able to survive regular usage for long, so version 4 is an attempt at making something more durable.
My idea for giving the filter some robustness was to add the filament across the glass of a filter to give it some protection. To try this out I took an old Vivitar Skylight 1A filter, unscrewed the retaining ring, stretched a length of 0.1mm fishing line across it and screwed the retaining ring back in. This works pretty well with the fine fishing line. The added bonus is that the ends can be pulled around a bit to ensure the filament is vertical when it’s screwed on the front of the lens.
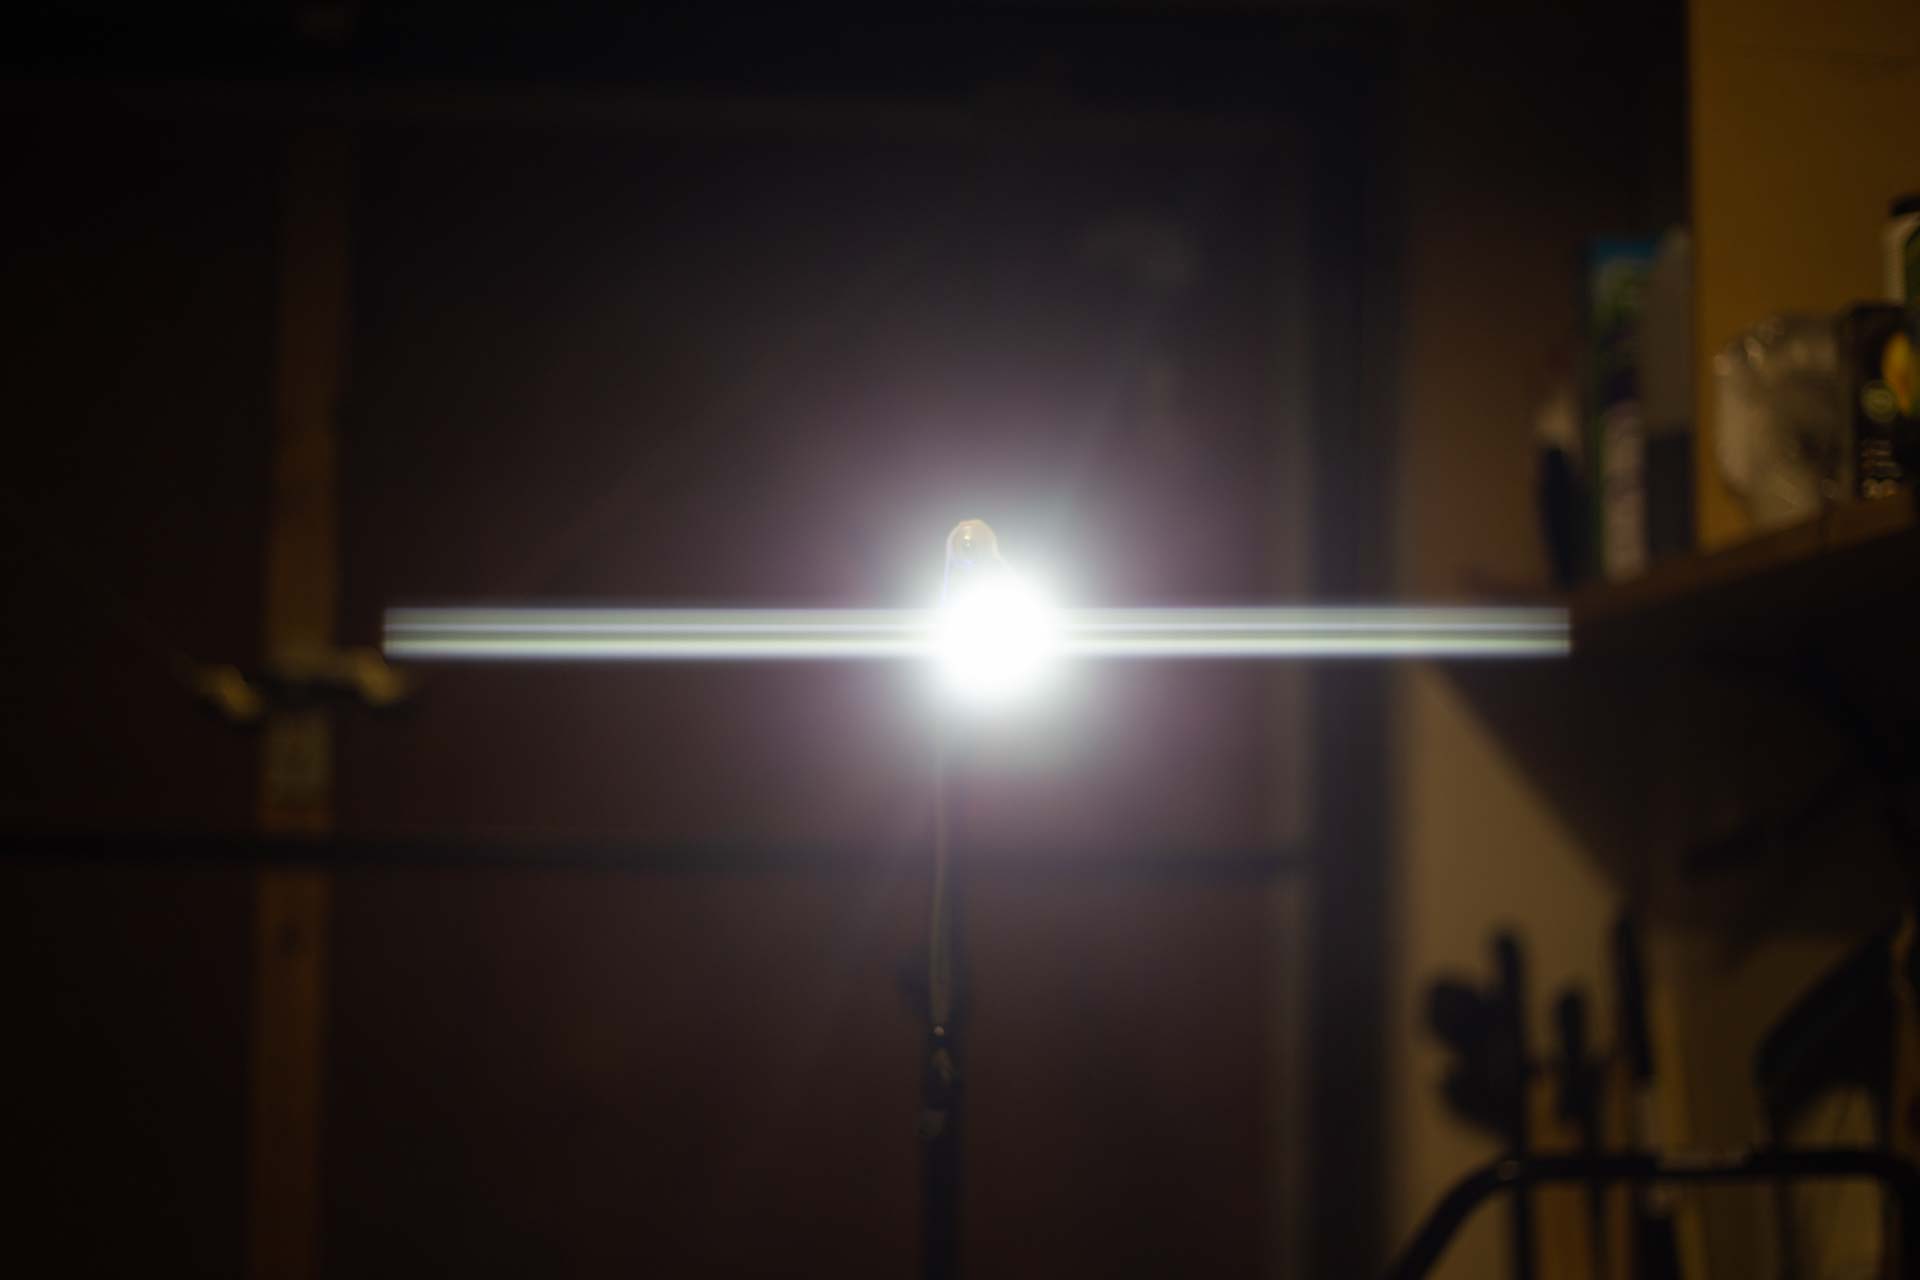
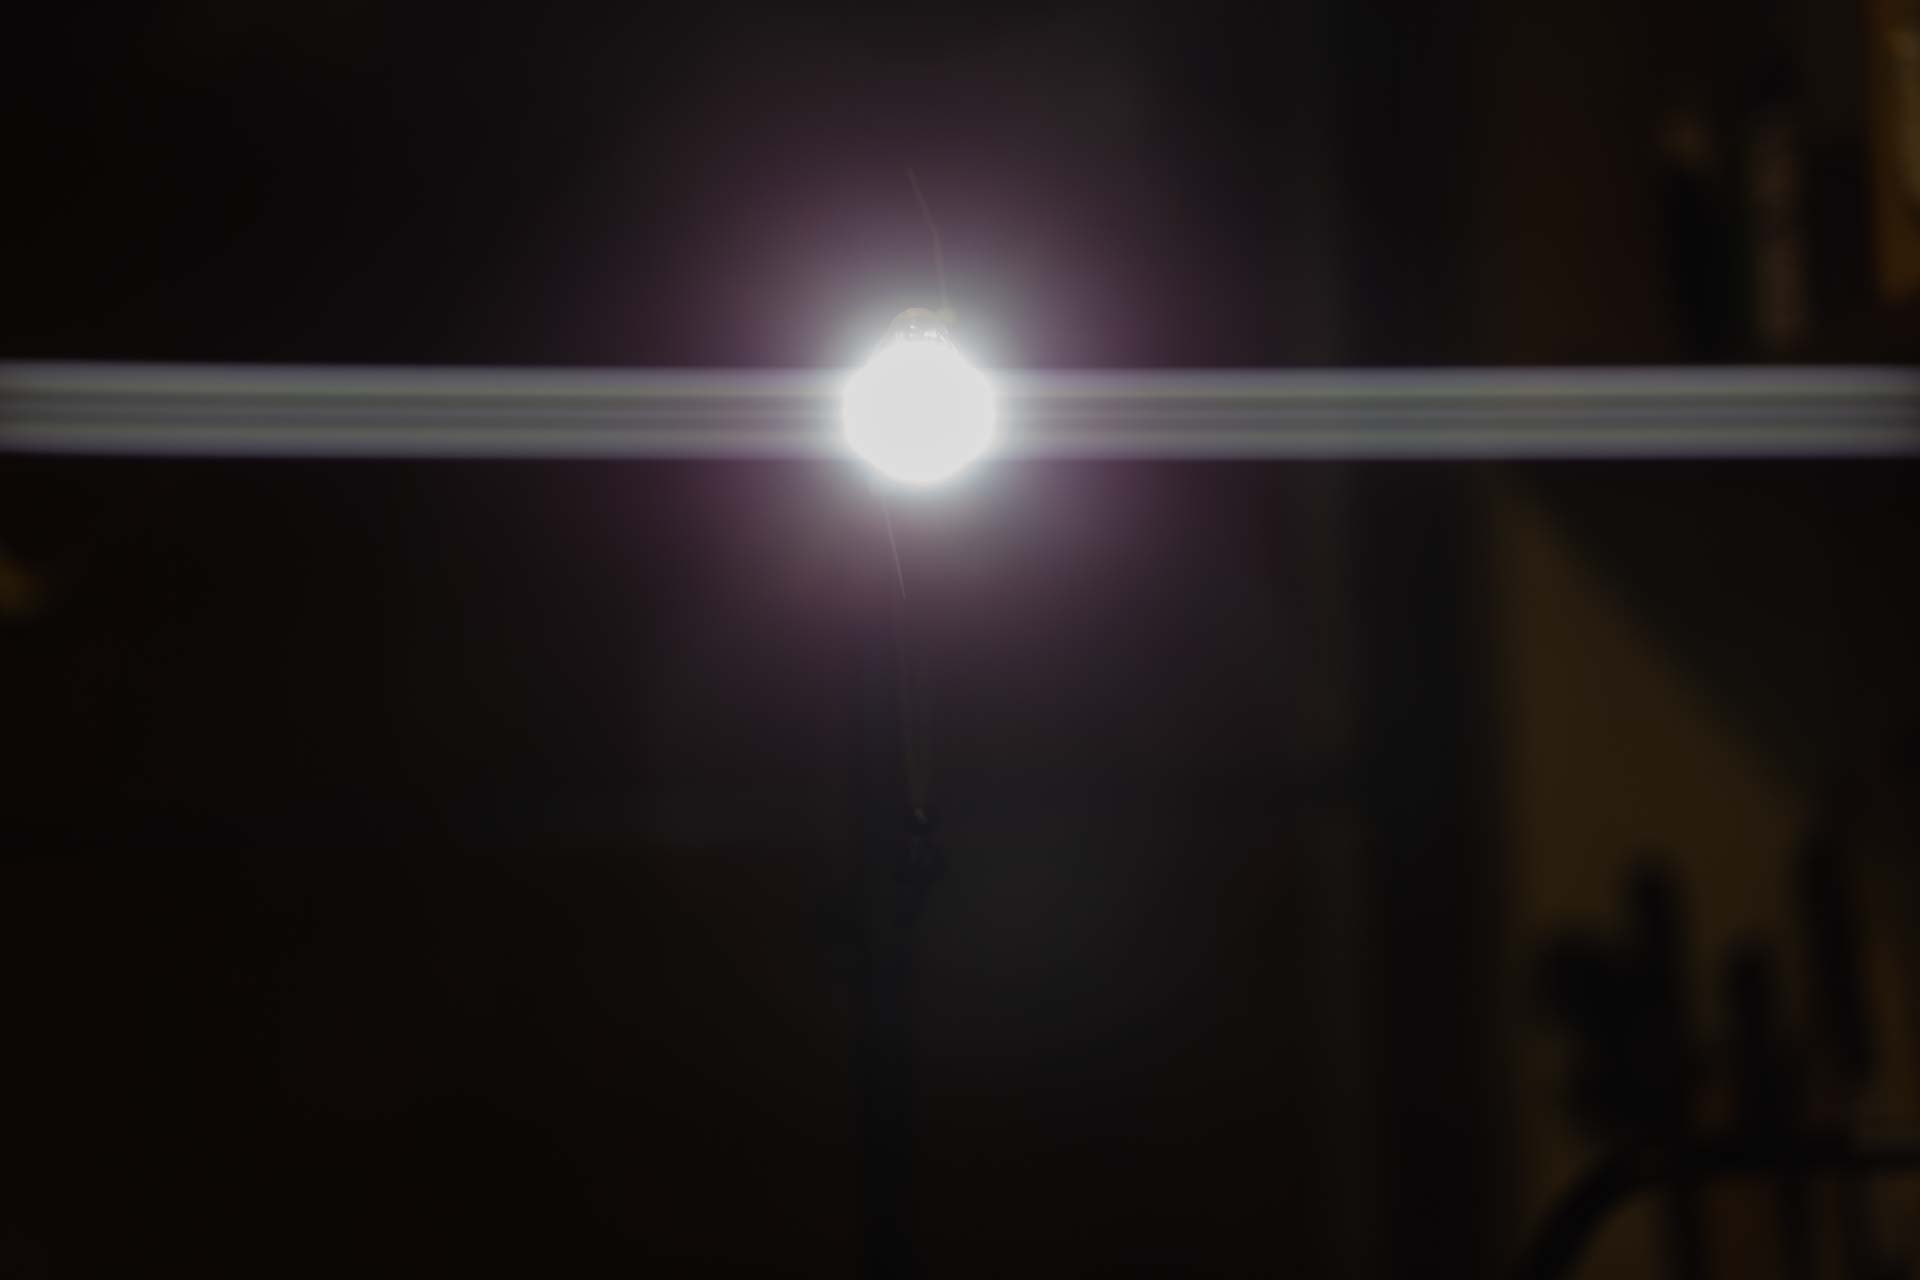
The finshed article, and the flare produced are shown below.

The compromise? Well it is a screw in filter so the alignment can’t be adjusted as flexibly as the square or PL filter based versions, and it does over-flare a bit with strong light source directly in front. That aside it’s the most robust version yet. I was planning to make an 82mm version with a slightly more modern filter, as the adapters for my Sioti 100mm square filter holder have an 82mm filter thread on the outside. However, I’ve yet to find an 82mm UV or Skylight filter that I can actually take apart, so …
Version 5: The Best Yet
As I said earlier in the post, I liked the 100mm square filter version because it’s easy to rotate to alter the flare’s alignment, so this final version is based on combining the robustness of version 4 with a square filter holder. The materials for this were a cheap 86mm UV filter and some 0.5mm thick black styrene sheet.
Having marked either side of the filter on the lens side, I drilled through the filter threads using a pin chuck with a 0.75mm drill. This was done by hand but is easy work so doesn’t need electric power.
The styrene sheet was then cut into four 100mm squares. The centres were marked and two sheets had 86mm diameter holes cut in them, the other two getting 89mm diameter holes. All holes were cut using the Olfa compass cutter, which makes this a much easier and more accurate process. The two sheets with the 86mm holes were glued togther using Tamiya Extra Thin Cement. The fishing line was then threaded through the holes in the filter and the filter was glued in place by carefully applying 5 minute epoxy to the top of the threads and pushing it into the hole in the previously glued pair of plastic squares, making sure the fishing line was tight (and aligned correctly!). When that was dry one of the styrene sheets with the larger holes was glued either side, again with the Tamiya cement. The result looks like this:


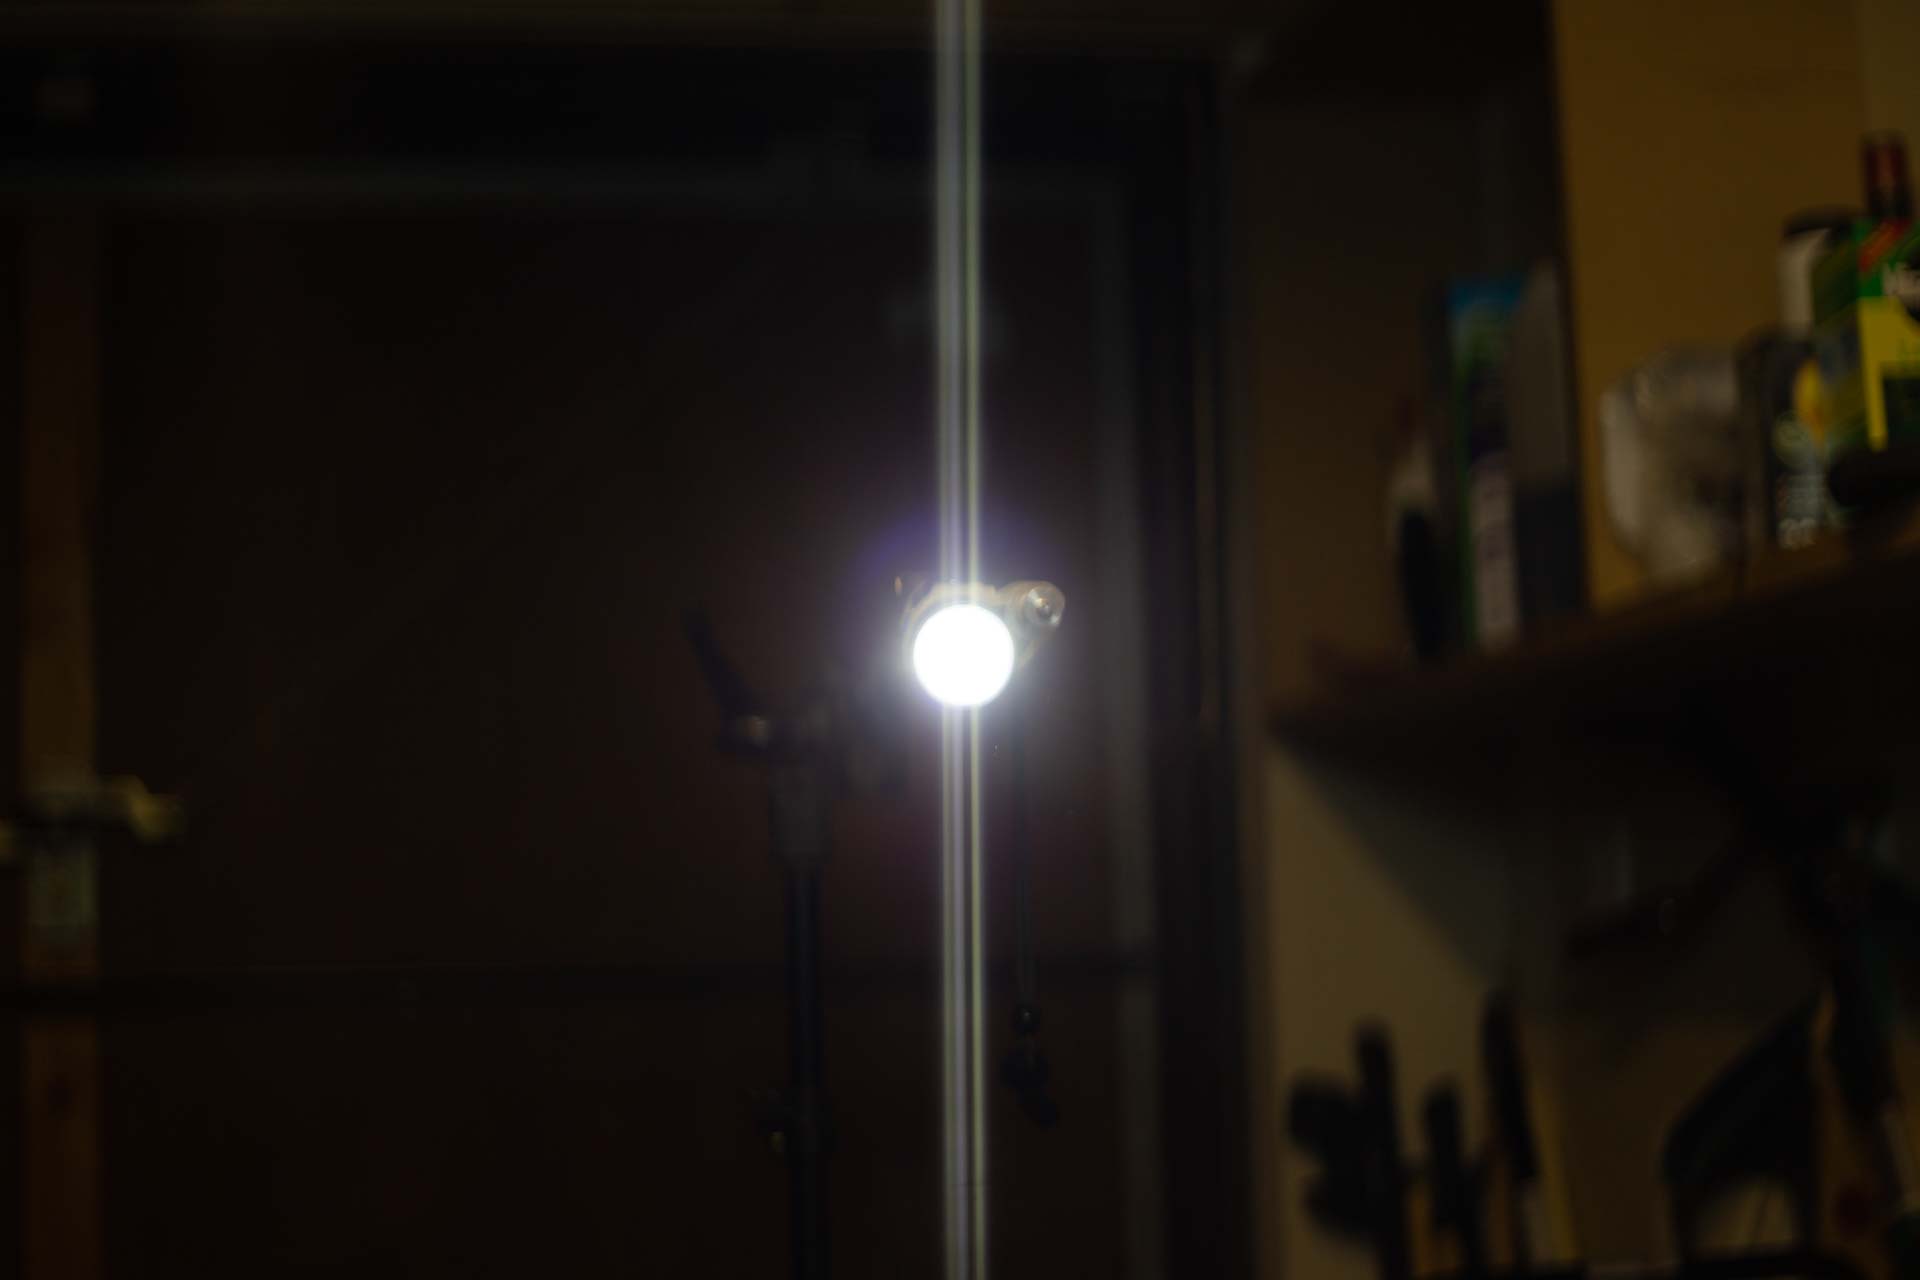
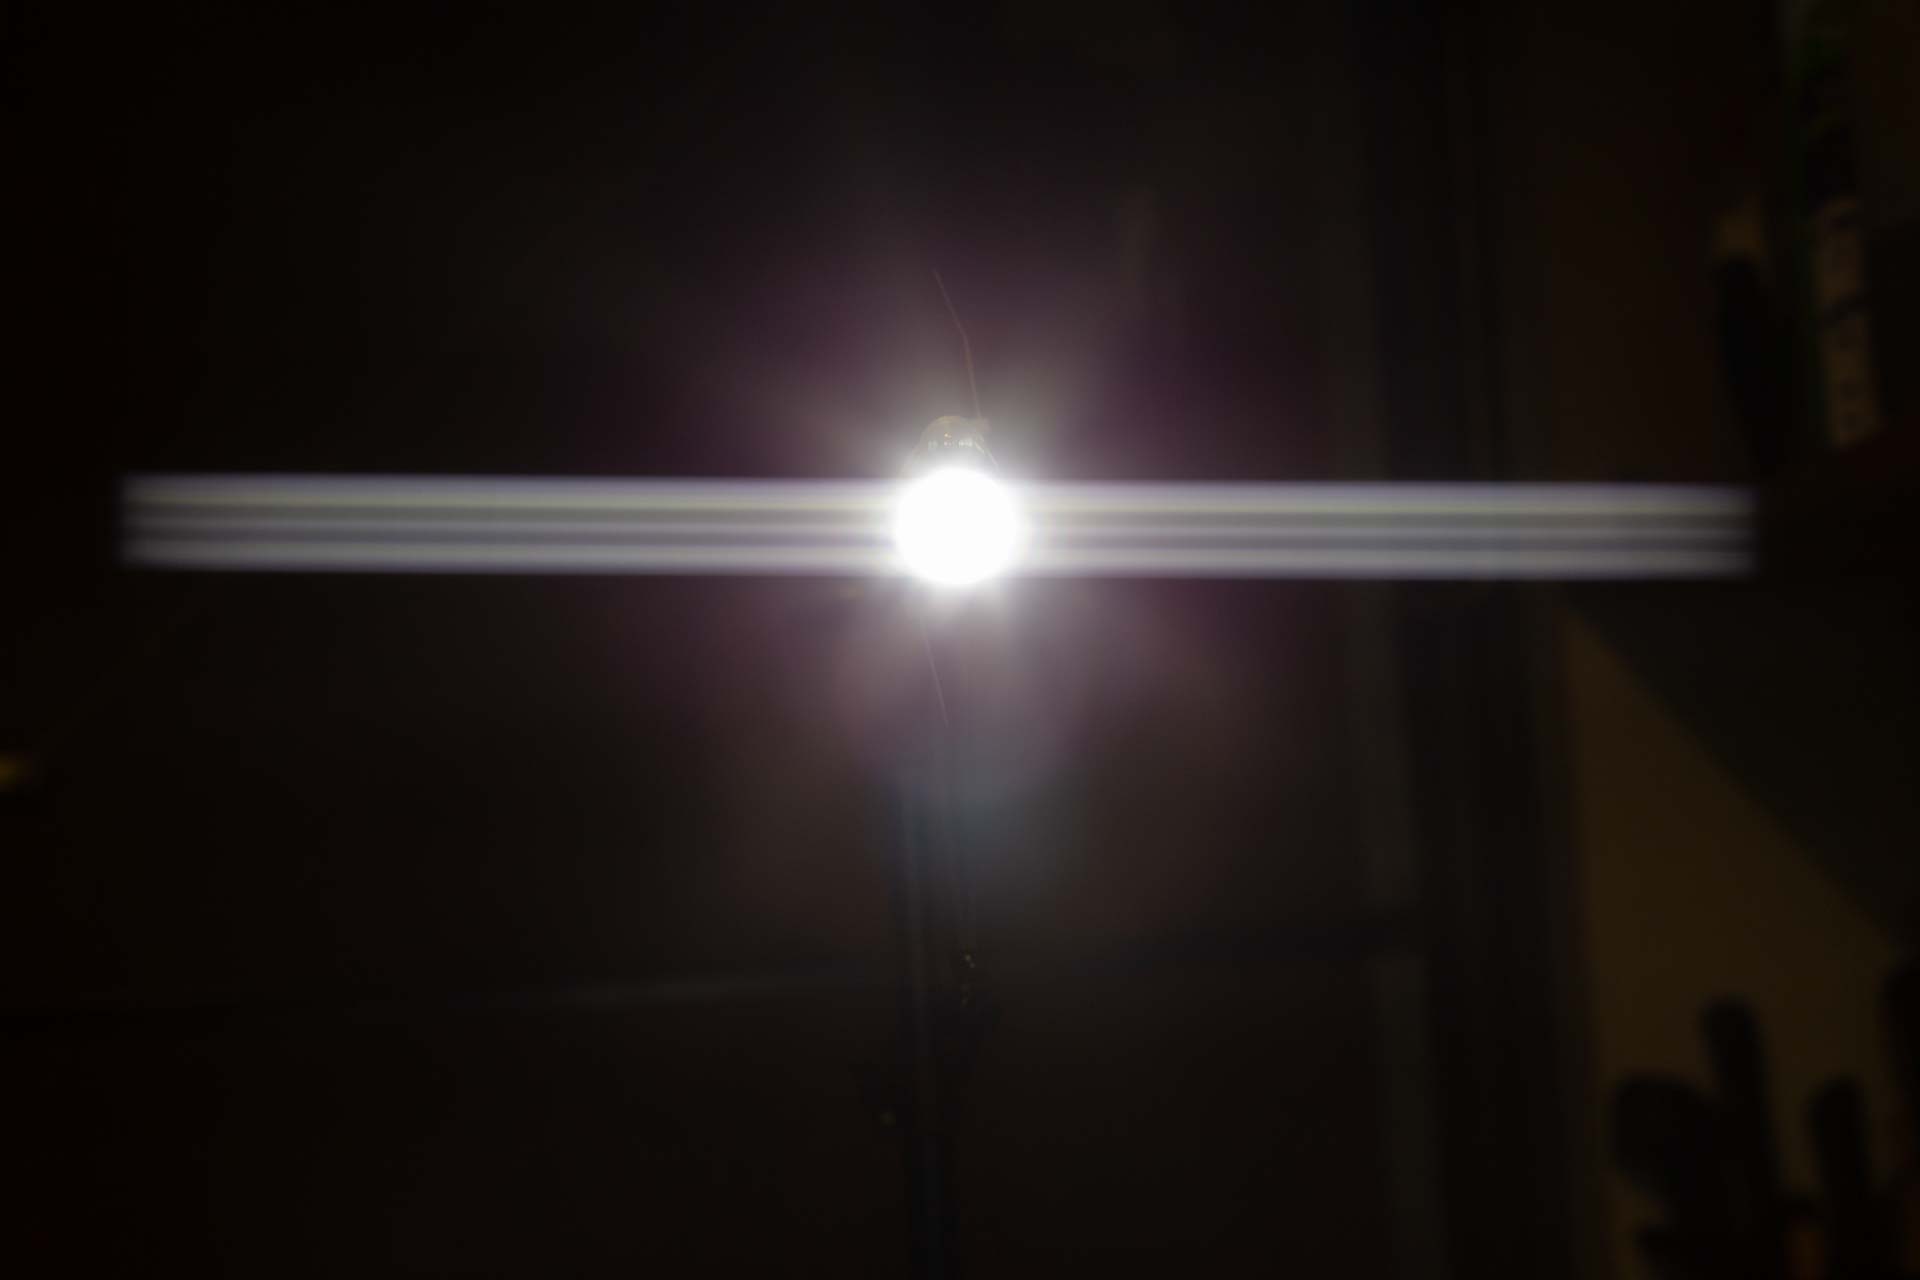
And the flare can be seen below. Note: when the filter is used with a less overpowering light source at a greater distance the flare produced is a lot more subtle. So a lot more like the real thing!

A Note on Focal Length
Using a crop sensor (Canon) camera with any of the front mounted versions of the filter, I’ve been getting full width flares using lenses with a 50mm focal length and above. Using a 50mm f1.8 lens on a full frame body clips the flare off at about two thirds of the frame width as shown below (first). Moving up to an 85mm f1.8 lens with full frame body, there’s no clipping (below second) until the aperture is reduced to f5.6 (below third):
I haven’t been able to do any tests of the front mounted filters with lenses with larger apertures as f1.8 is the widest I have. However, I suspect a 50mm f1.4 or f1.2 might give usable results with a full frame body. Happy to hear comments from anyone who has tried.
3 thoughts on “Experiments with Flare Filters”