By the time I’d finished my Pipe Light project I’d decided that rather than hand cutting and (seemingly endlessly) filing parts from existing pipe fittings, project boxes and the like, it would be good to try fabricating them from scratch. Given a fairly restricted budget the tool I chose for the job was a 3D printer and after a reasonable amount of research I bought a Creality Ender 5 Pro. From its specs and the reviews I looked at online this printer appears to have a lot going for it.
Assembly
The Ender 5 Pro comes in a semi-assembled state. The reviews I’d seen said putting it together takes about 20 minutes for the mechanical build and roughly another 20 minutes to get all the electronics plugged together. It turned out that 40 minutes was a pretty good estimate. Easy!
With the machine assembled it was immediately clear that the 5 Pro’s cable management isn’t exactly great. Using all of the small bundle of cable ties included in the toolkit, with a few of my own added, the right side of the printer still looked a bit of a mess. An obvious area for tidying up later.
Powering up for the first time, the bottom line of the display gave a “TMC connection error” message. That didn’t look too promising: after a bit of searching around online the consensus seemed to be that re-flashing the firmware would solve it.
Firmware Update
To update the printer I downloaded the new firmware from the Creality support site, copied the file into the root directory of the micro-SD card, inserted it into the printer and powered up. The screen blanked for a few extra seconds, but then displayed the Ender info screen. This time the message at the bottom was “Ender-5 Pro Ready.” Selecting “About Printer” on the main menu now showed the Marlin version as 1.0.1. First problem solved! (It’s important to remember to remove the Marlin file from the card after the upgrade is done or the printer will re-flash itself every time it starts up with the card inserted.)
Bed Levelling
With the firmware fixed it was time to get the print bed levelled. I’ve seen and read mixed opinions about how easy or difficult this is, but it seemed fairly straightforward to me. I just auto-homed the print head, disabled the stepper motors and with a sheet of paper (I’ve been using standard 80 gsm printer paper) moved the head to each corner in turn and adjusted the levelling screw until the paper slid under the print nozzle with a fair amount of “rubbing”. For the initial setup I had to do quite a few of laps of the print bed to get it right, as there was quite a lot of adjustment needed.
Subsequently I’ve generally only needed to go round the corners a couple of times. In my experience so far it’s been a pretty easy and quick process, so upgrading to auto-levelling isn’t on my list of ‘must haves’ at the moment.
Loading Filament
The last stage of preparation was loading up the supplied roll of PLA filament. The first time I tried this the bowden tube pushed straight out of the extruder. This wasn’t a great confidence booster. On the Ender 5 the bowden tube is only a push fit in the top of the extruder and it turned out that even though it felt like it was pushed in fully, it still had a little way to go! Pushing it in that extra bit and re-fitting the clip to the collar at the top of the coupling got everything tight, and I was able to feed the filament through to the head.
Finally, following the instruction book I heated up the print head and pushed some filament through. Result – plastic coming through the nozzle. I took this as a good sign!
Now to print something …
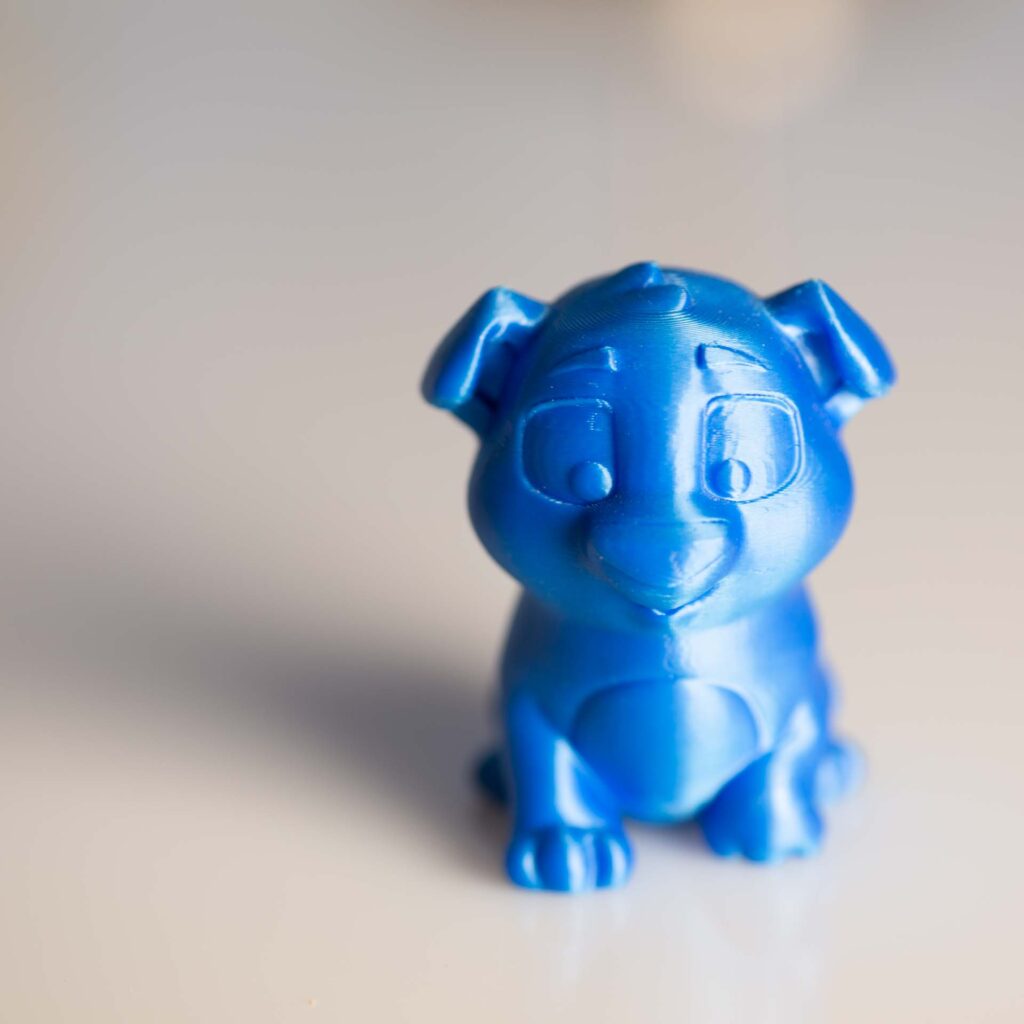
Since the micro-SD card that comes with the printer had three pre-prepared gcode files on it, this looked like a good place to start. I chose the dog file as it had the shortest print time, taking about two and a half hours. So with bed level and expectations high I selected “Print from TF card” on the main menu, chose the dog file and off the printer went. The bed heated up, the nozzle heated up and the raft round the dog started printing, followed by what looked like the dog’s paws. So far, so good. However when I checked a while later the print had moved to the edge of the print bed and the nozzle was laying down a tangled jumble of string. After cleaning the print bed and re-levelling with a slightly lower clearance I started the print running again. This time it got over three quarters of the way through before the dog once again came unstuck and got shoved to the edge of the bed leaving the nozzle trying to lay down layers of plastic on thin air.
After a bit of research on improving bed adhesion I bought a pack of glue sticks from Amazon – I went for Elmer’s Disppearing Purple ones as, like the name suggests, the glue goes on purple but turns clear when it dries. This makes it easy to see if the print area is covered before heating the bed. Applying a layer of this to the print area before starting the print seemed to do the trick and the dog printed successfully. And here he is:
Bed Adhesion
To address issues with bed adhesion there appear to be a few recommendations:
- Glue stick
- Blue painter’s tape
- Fiddling about in the slicing software.
I generally use the glue stick option, although I do also use a few minor tweaks in the slicing settings, such as reducing the thickness of the first layers, to ensure my prints don’t go walkabout on the build plate.
So that’s it, my first steps in 3D printing with the Ender 5 Pro. Not without a few hiccups, but given that I had zero experience at the start of the process I feel it could have gone a lot worse.
And the quality of the dog? For a fairly budget printer, straight out of the box and in the hands of a complete novice, it looks amazingly good to me. However, I didn’t buy this machine to print plastic dogs, so onwards …