Bokeh isn’t something I use every day, and certainly not artificially shaped bokeh. However, from time to time being able to create custom bokeh shapes can add a bit of magic to a shot. Having made a pretty rudimentary set of masks in the past I decided that it would be good to do an update (or upgrade). For this version the design requirements were:
- No visible gaffer tape (or other sticky tapes),
- No fixing to the front of the lens using rubber bands or Velcro,
- It’s got to look like it’s been designed, not just thrown together out of scrap.
It made sense to make the masks fit my 100mm square filter holder, since that’s something that I carry around a lot of the time. This also ensures that the masks shouldn’t get lost as they can live in my filter pouch. Very organized!
After a few minutes of pondering and a bit of experimentation I came up with a design that can be printed, folded and glued to make a reasonably presentable mask. Printed and cut out it looks like this:
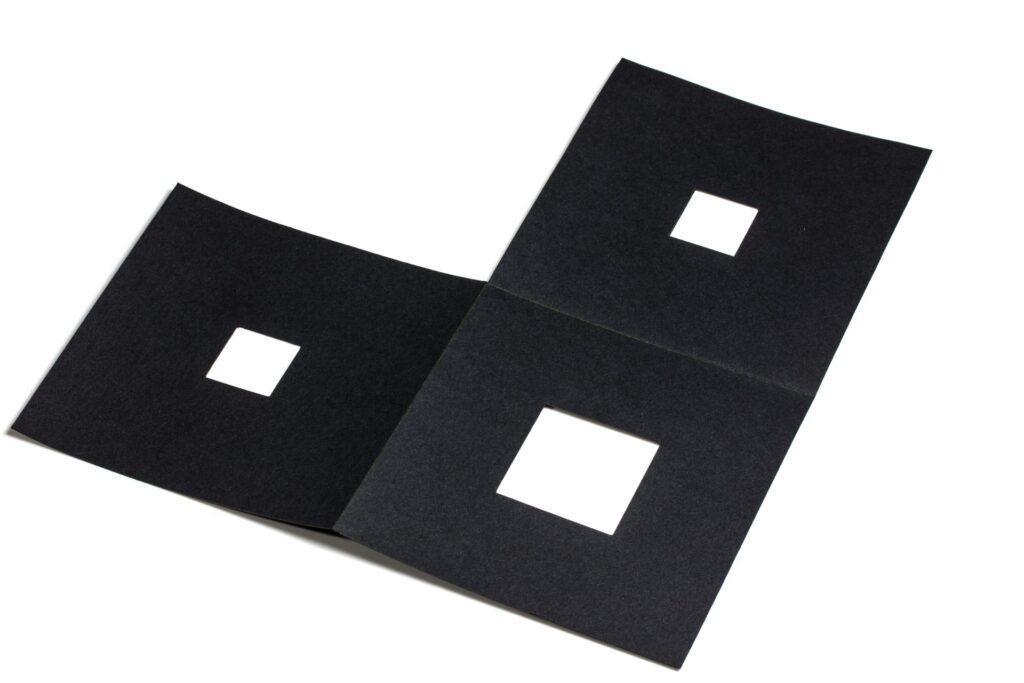
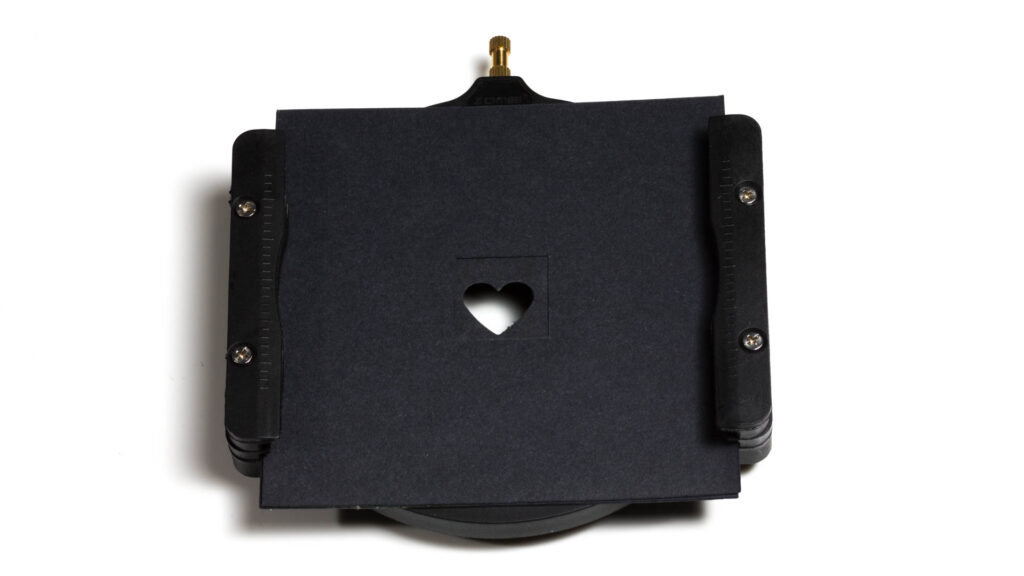
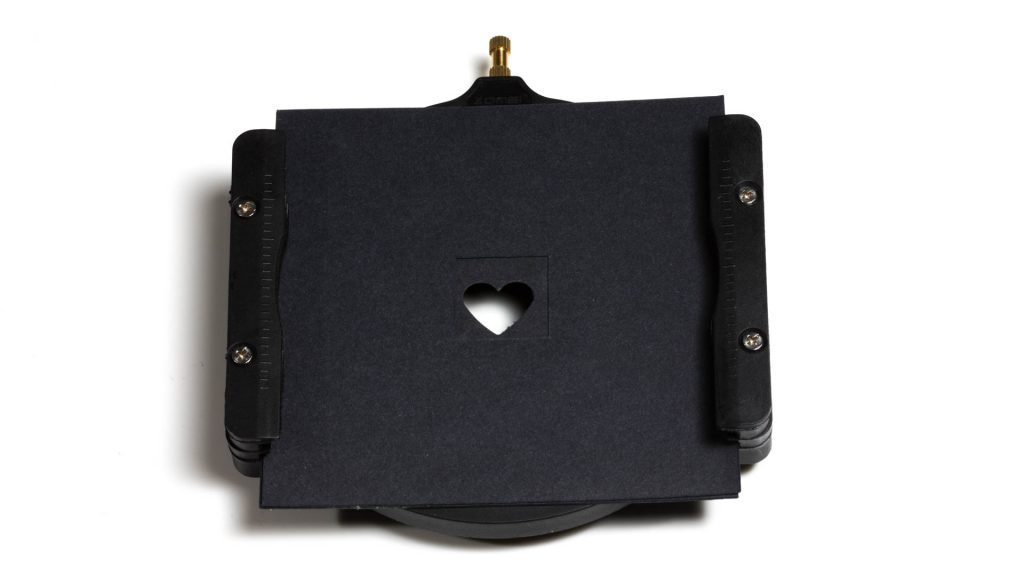
… and when it’s been folded, punched and glued (and put in the filter holder) it ends up looking like this :
It’s very simple to put together and requires minimal materials – a sheet of thick black paper or thin black card, a sharp modelling knife (or scalpel), a shaped punch for cutting out the shapes (optional – you can cut these out by hand), a straight edge of some sort as a guide for the rest of the cutting, and some glue.
Some exciting notes on glue:
You don’t want anything too watery as it’ll soak into the card unevenly and dry out looking like a kid’s project! I tried several types of glue and found the best to be a regular glue stick (I used Pritt Stick as that’s what I had to hand). I also tried UHU brand all-purpose glue, and Evo Stik impact adhesive. Both of these worked pretty well, but do leave stringy bits if you’re not careful. The one I found to avoid was PVA glue which soaks into the card too much and warps it as it dries.
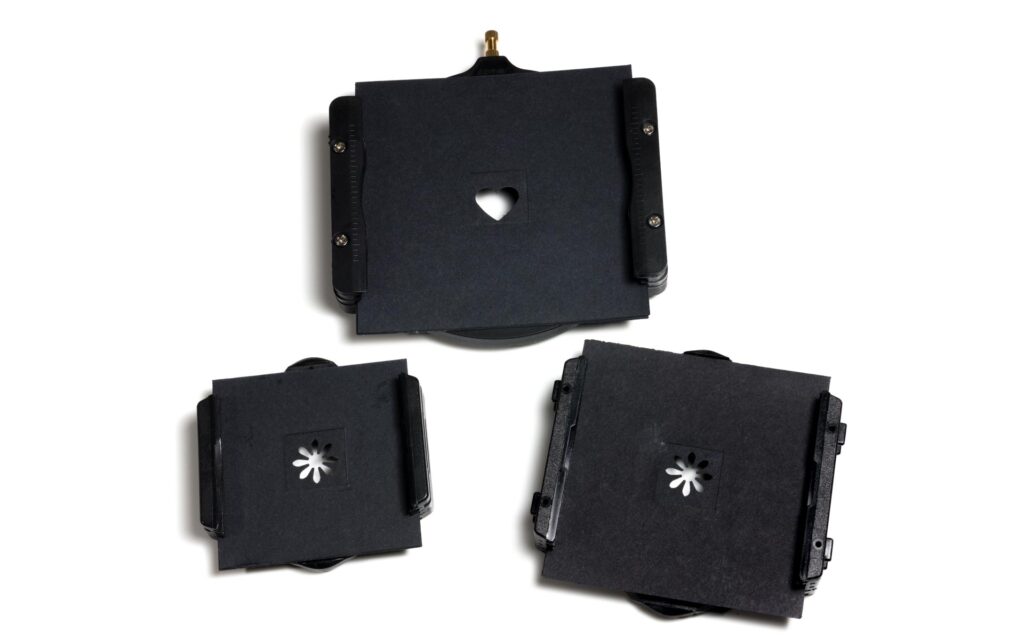
These instructions are based on the assumption that a hinged punch is used to cut the bokeh shape, and that this punch will not be able to reach into the centre of a 100mm square. In the first instance I used shape punches that were part of one of my kids’ craft sets (see picture below):
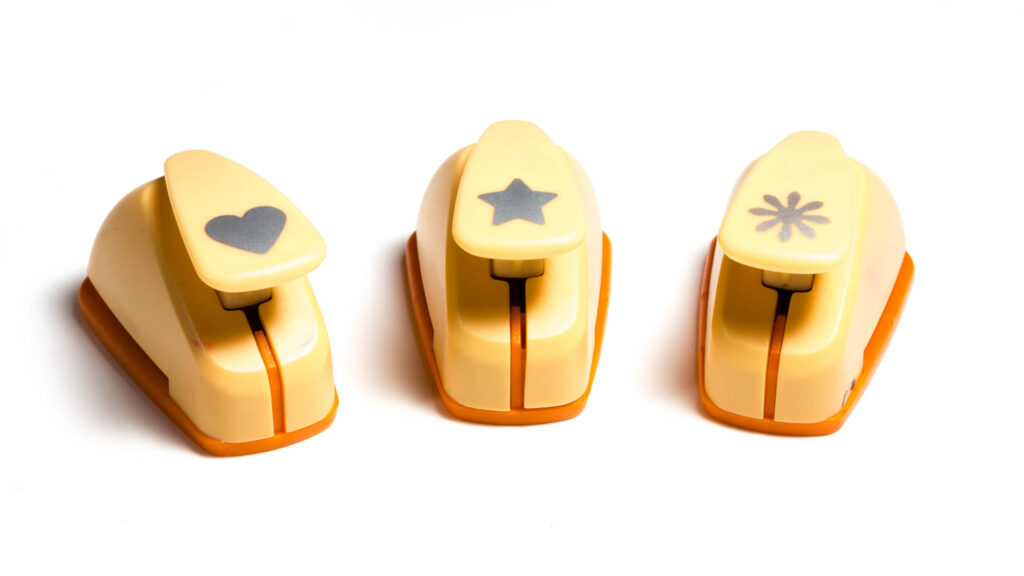
If you can’t get a punch that’s the right shape you can, of course, cut out the hole with a knife. This is what I did for my fake anamorpic ellipse mask (which gives the type of elliptical bokeh that is characteristic of an anamorphic lens). If you’re hand cutting the holes there’s no need to cut the largest of the center squares out at all.

Making Them
- Print out the template in the pdf file with no scaling. I initially printed on an A3 printer because printing on A4 clipped the square on the right. With some printers it may just fit on A4 or US letter size, but it depends on what the printer allows as its printable area.
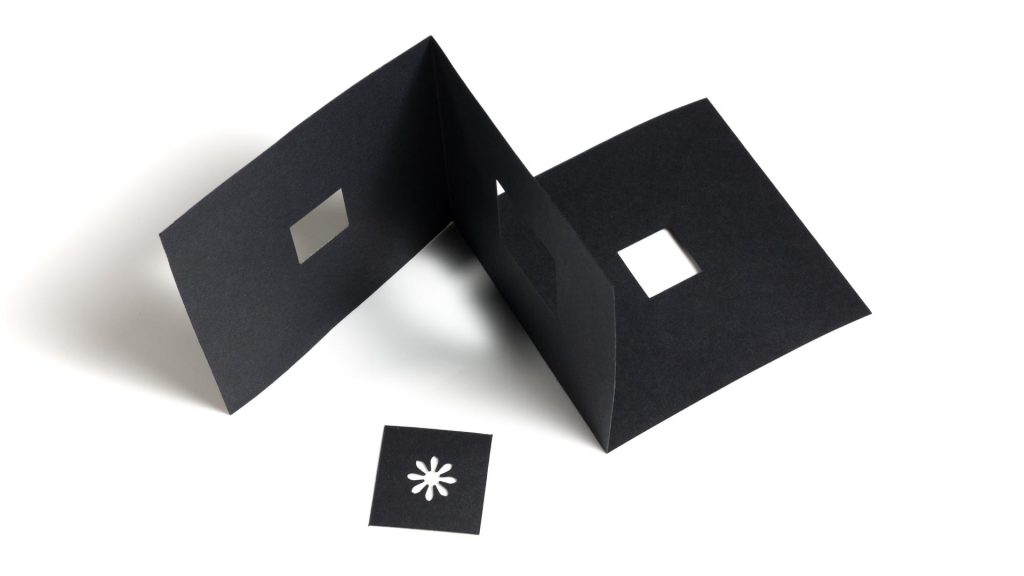
- Using a sheet of black card, cut out the shape for the insert-holder using the template.
- Carefully cut out the three holes, following the template. The largest of the three pieces that’s just been removed will be used as the insert with the bokeh shape cut in it.
- Cut or punch a suitably shaped hole in the centre of the insert.
- Fold the back of the insert-holder over the centre section of the insert holder as shown and glue them together. Depending on the thickness of the black card you’ll almost certainly want to score the fold lines to ensure a clean fold. Remember one fold line should be scored on one side and the second on the reverse.
- Glue the insert into the recess in the centre of the insert-holder.
- Fold the top of the insert-holder over and glue it in place.
- Compress (ie put something heavy on top of it) and allow the glue to dry.
When the glue has dried, insert the bokeh mask into the filter holder, crank the lens aperture open, find a subject that has some nice bright point highlights in the background and shoot away.

A note on lenses:
The bokeh mask has to be used with a lens with a large maximum aperture set close to wide open. Unfortunately it isn’t going to work with a regular kit lens or standard zoom. I have a 17-50mm f2.8, which is quite a fast lens but it’s not wide enough to use with the bokeh mask. Of my lenses the ones that do meet the spec are the Canon 85mm f1.8 USM and the Canon 50mm f1.8. If you’ve got an f1.4 or f1.2 lens you’re laughing – if I could afford that Canon 85mm f1.2 lens I’d be laughing too!
In order to make the mask easy to reproduce, I put together a printable template. This can be printed and cut out of regular printer paper to use as a guide for cutting out the black card. However, if you have a printer that can print onto card directly the cutting out process is a lot quicker, easier and more accurate.
For completeness, since not everyone uses 100mm filters I’ve produced an 84mm version of the template which has been tested with my old Cokin P filter holder. I have also incuded a 67mm version for Cokin A.
Template file
All three are included in the downloadable Bokeh Template pdf file. The file contains seven pages:
- 100mm template for printing on white A3 paper,
- 100mm outline for printing onto black A3 card,
- a similar 100mm outline but printing onto black A4 card – this may not work with all printers, as the margins are very narrow so the edges may fall outside your printer’s printable area,
- 84mm template for printing on white A4 paper,
- 84mm outline for printing onto black A4 card,
- 67mm template for printing on white A4 paper,
- 67mm outline for printing onto black A4 card.
The pages for printing on black card have yellow outlines with no fill. These give a thin but visible outline with the Dell laser printer I was using, but may not work for everyone. Remember to make sure your printer prints at 100% and doesn’t “shrink page to fit”.
One thought on “Make Bokeh Masks for Square Filter Systems”